Add a Custom URL for your Guest Portal
How to add your custom URL
Section titled “How to add your custom URL”Adding a custom URL to your Guest Portal unlocks tons of customization options: SEO title and description, site name, OpenGraph Image (the image that shows up when you send the link by text message), favicon, and font. But what’s perhaps most exciting is that you can also customize the portal login page (where guests enter their check-in date) with a background image, a welcome message, and your own primary/secondary colors before the reservation is even loaded.
You will need access to your DNS provider account (GoDaddy, Google, etc.) to add a custom URL.
1. Go to Portals > White labeling in the navigation
Section titled “1. Go to Portals > White labeling in the navigation”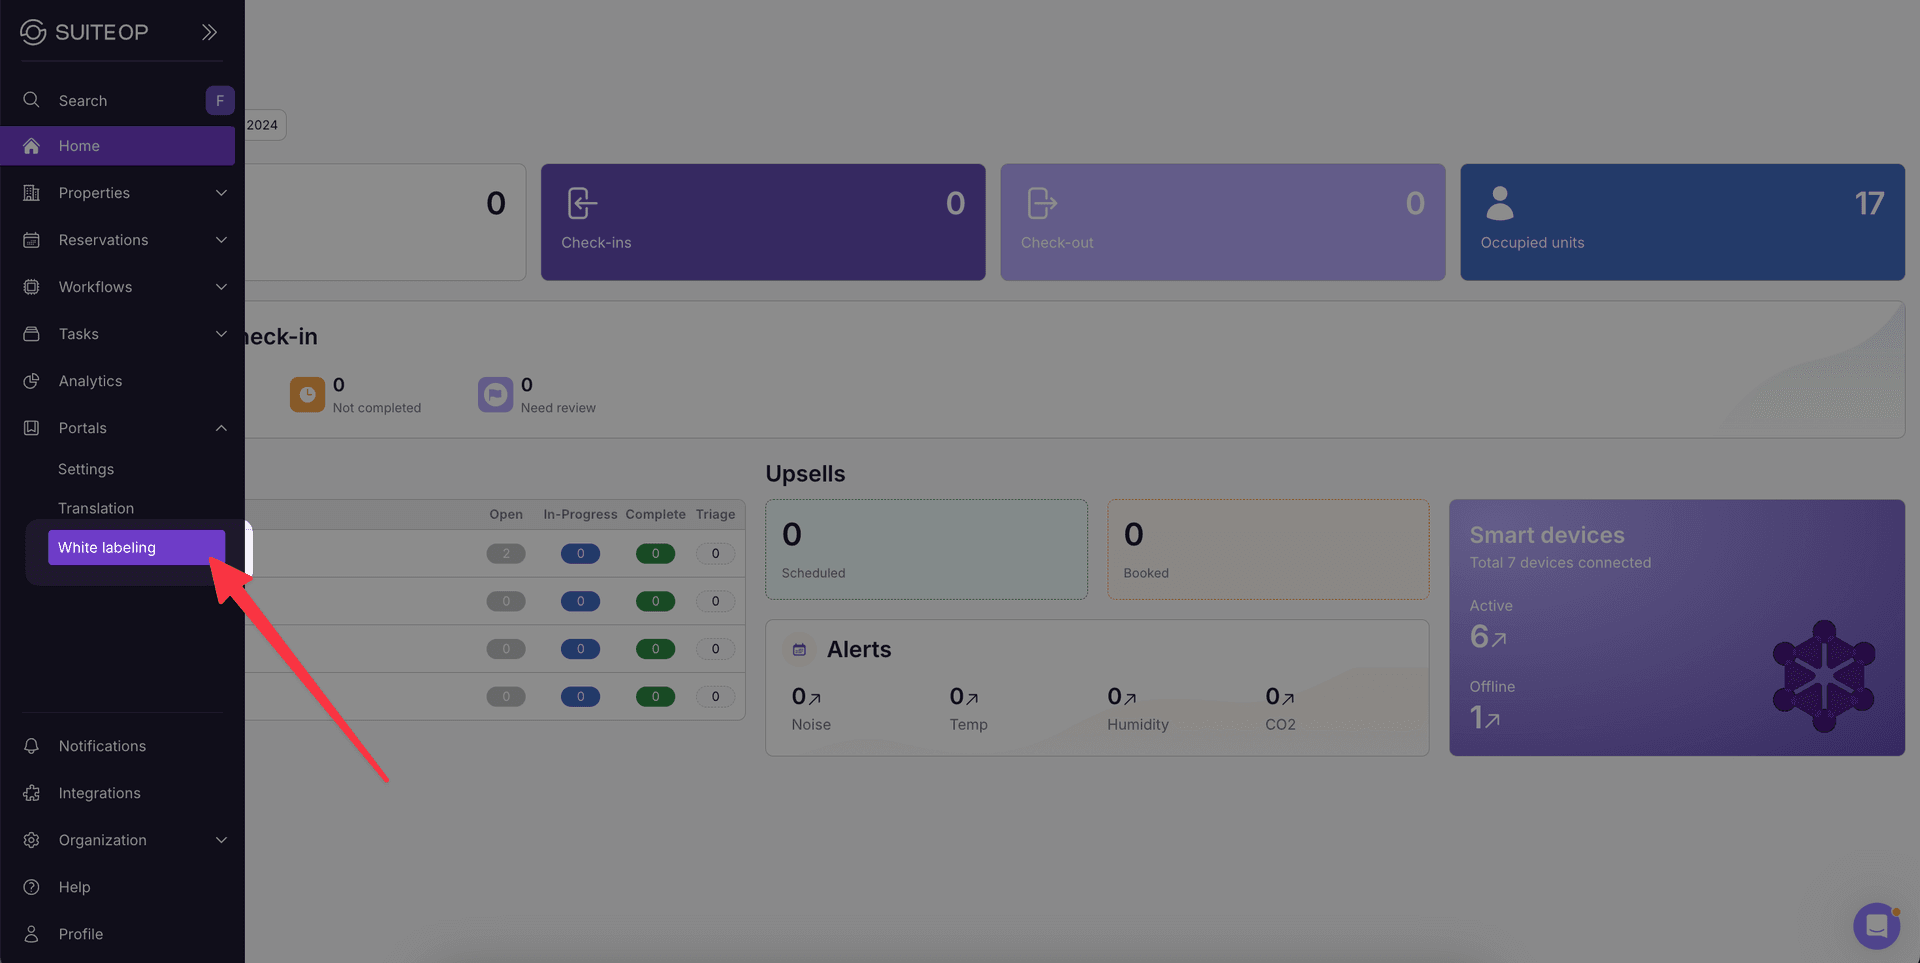
2. Add a subdomain of your choosing (portal.domain, welcome.domain, guest.domain, hello.domain, etc.) and click + Add
Section titled “2. Add a subdomain of your choosing (portal.domain, welcome.domain, guest.domain, hello.domain, etc.) and click + Add”You will see two new CNAME records

3. Next, head to your DNS settings and add the 2 CNAME records as suggested in the setup
Section titled “3. Next, head to your DNS settings and add the 2 CNAME records as suggested in the setup”You’ll do this in your DNS provider, this could be GoDaddy, SquareSpace, Namecheap or another provider. Once you log into your account you should see a section for DNS Settings. Here you’ll see a list of records and a button to add new records. You’ll simply copy and paste the records displayed in SuiteOp into the Name (sometimes called Title) and Value (sometimes called Content) fields. Make the records CNAME type and leave other fields as their defaults.
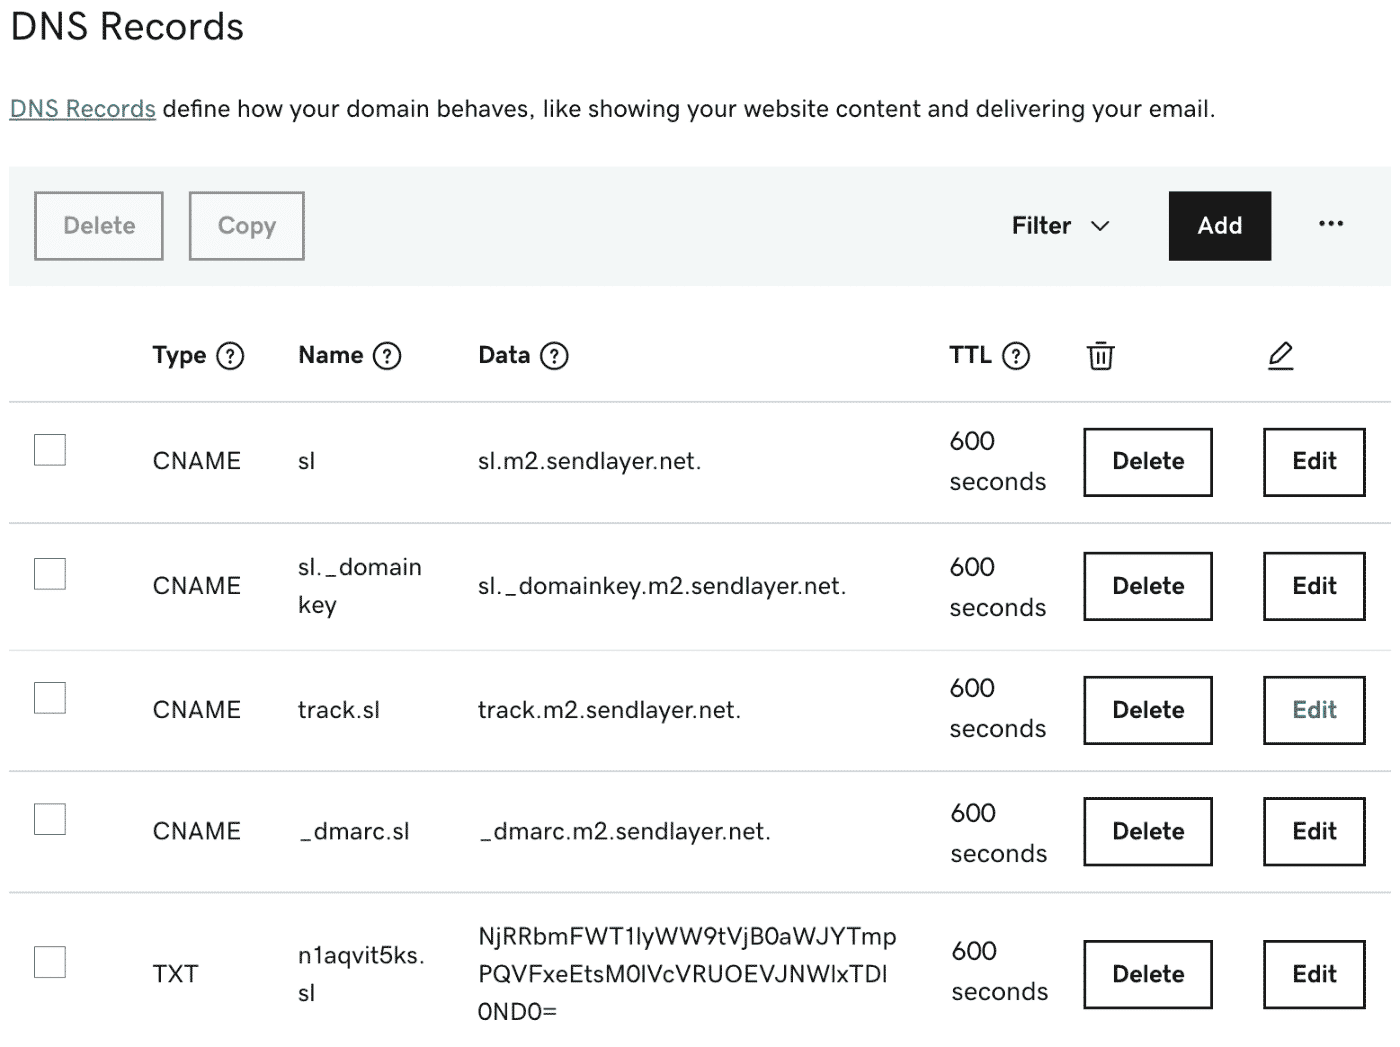
4. Wait up to 30 seconds, refresh the DNS in SuiteOp (using the refresh button) and both should show up green as soon as they have propagated
Section titled “4. Wait up to 30 seconds, refresh the DNS in SuiteOp (using the refresh button) and both should show up green as soon as they have propagated”This usually happens pretty quickly, if not double check your records. Some providers automatically append your domain to the Name field, you may also try removing this from both records.
5. Click Add URL, and you’re done!
Section titled “5. Click Add URL, and you’re done!”GoDaddy Tips
Section titled “GoDaddy Tips”GoDaddy sometimes auto-appends your root domain to whatever you type in the “Name” field.
-
For example, if you enter guest.yourdomain.com in the Name field, GoDaddy may create** guest.yourdomain.comyourdomain.com** by mistake.
-
For CNAME records, the Name should usually be just the** subdomain part**:
- Use guest instead of** guest.yourdomain.com**
- Use _acme-challenge.app instead of** _acme-challenge.guest.yourdomain.com** That way, GoDaddy will automatically append .yourdomain.com for you.
SquareSpace Tips
Section titled “SquareSpace Tips”SquareSpace sometimes auto-appends your root domain to whatever you type in the “host” field.
-
For example, if you enter guest.yourdomain.com in the host field, Squarespace may create** guest.yourdomain.comyourdomain.com** by mistake.
-
For CNAME records, the host should usually be just the** subdomain part**:
- Use guest instead of** guest.yourdomain.com**
- Use _acme-challenge.app instead of** _acme-challenge.guest.yourdomain.com** That way, Squarespace will automatically append .yourdomain.com for you.
How custom domain routing works
Section titled “How custom domain routing works”Once your custom domain is activated, it serves only the guest portal. Any request to a path outside the portal (such as the SuiteOp dashboard) is automatically redirected to the portal home page.
This means guests visiting your custom domain (for example, welcome.grandbudapesthotel.com) will always land on the guest verification page — they won’t see any admin or dashboard content. This creates a clean, branded experience for your guests.
What to do after your domain is activated
Section titled “What to do after your domain is activated”-
Update your Brand under the Portal settings Brand page. In each Brand, there is a dropdown to select which URL to use, select your newly activated custom URL here.
-
Add customizations! In the White labeling page, click manage domain next to your new domain.
-
In the SEO tab:
- Upload a favicon (the small icon in the browser tab)
- Upload an OpenGraph image (the preview image when the link is shared by SMS, WhatsApp, or social)
- Customize the page title & description
- Add a multi-lingual welcome message that appears on the pre-verify landing page
-
In the Customization tab:
- Upload a hero background image for the portal landing page
- Add your brand colors
- Customize your text & font (choose from any Google Fonts family for both header and body text)
-
DNS verification is required before editing
Section titled “DNS verification is required before editing”The SEO, Customization, and Code tabs are read-only until your DNS records are verified. This prevents you from editing branding for a domain that isn’t actually live.
If your domain isn’t verified yet you’ll see:
- A Verify your DNS banner at the top of the disabled tabs
- A Verify required pill on the DNS tab so you know where to go
Head back to the DNS tab, refresh, and once both CNAMEs go green the editing tabs unlock.
The pre-verify landing page
Section titled “The pre-verify landing page”When a guest visits your custom domain without a reservation code (for example, they typed welcome.grandbudapesthotel.com directly into the browser) they now see a branded landing page instead of an empty form.
This page renders with:
- Your brand colors and fonts
- Your logo and hero background image
- The multi-lingual welcome message you set in the SEO tab
If the URL already carries a reservation code (e.g. ?code=ABC123&lastName=Smith from a PMS link or a SuiteOp share link), the landing page is skipped and the guest goes straight to verification — the experience is unchanged for guests arriving via a direct invite.