How to enable multiple languages in your Guest Portal
We know your guests come from all over the globe, it’s important all guests are able to complete pre-check in and access the benefits of their Guest Portal. That’s why we offer nine language translation options (and always growing!) for every Guest Portal. See the steps below to enable new languages in your Portal.
-
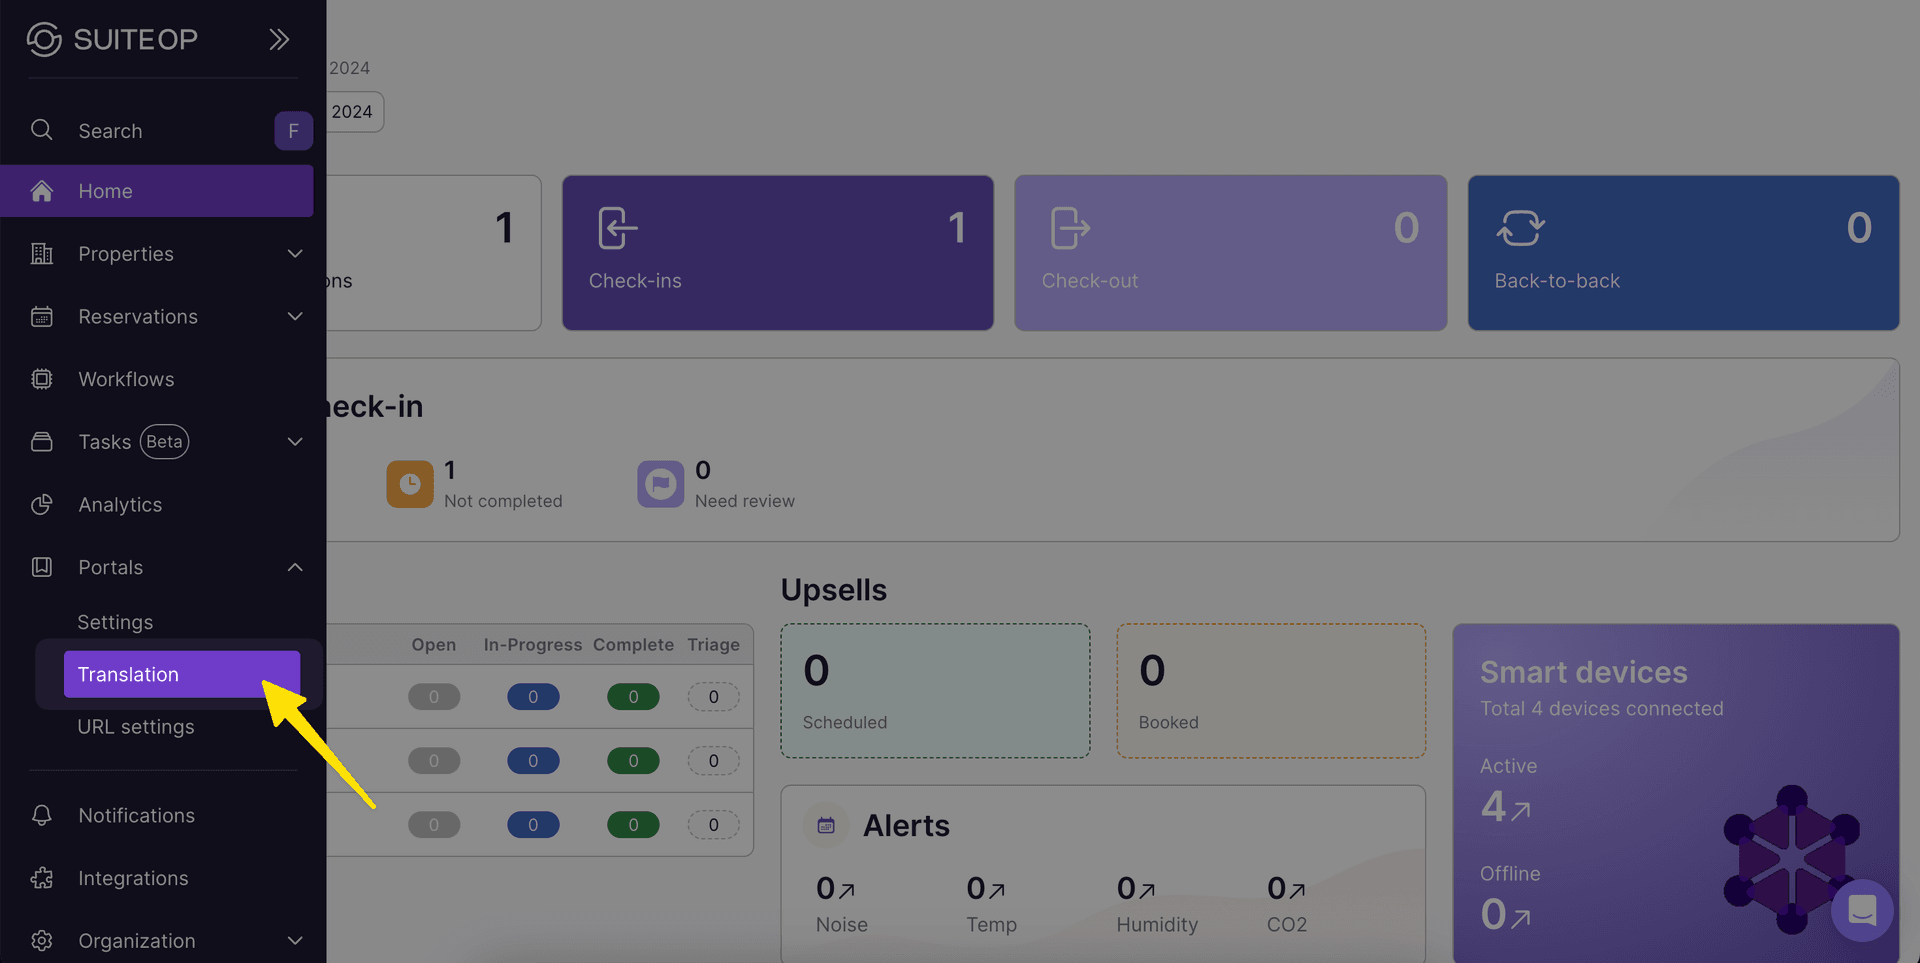
Go to Portals > Translation
-
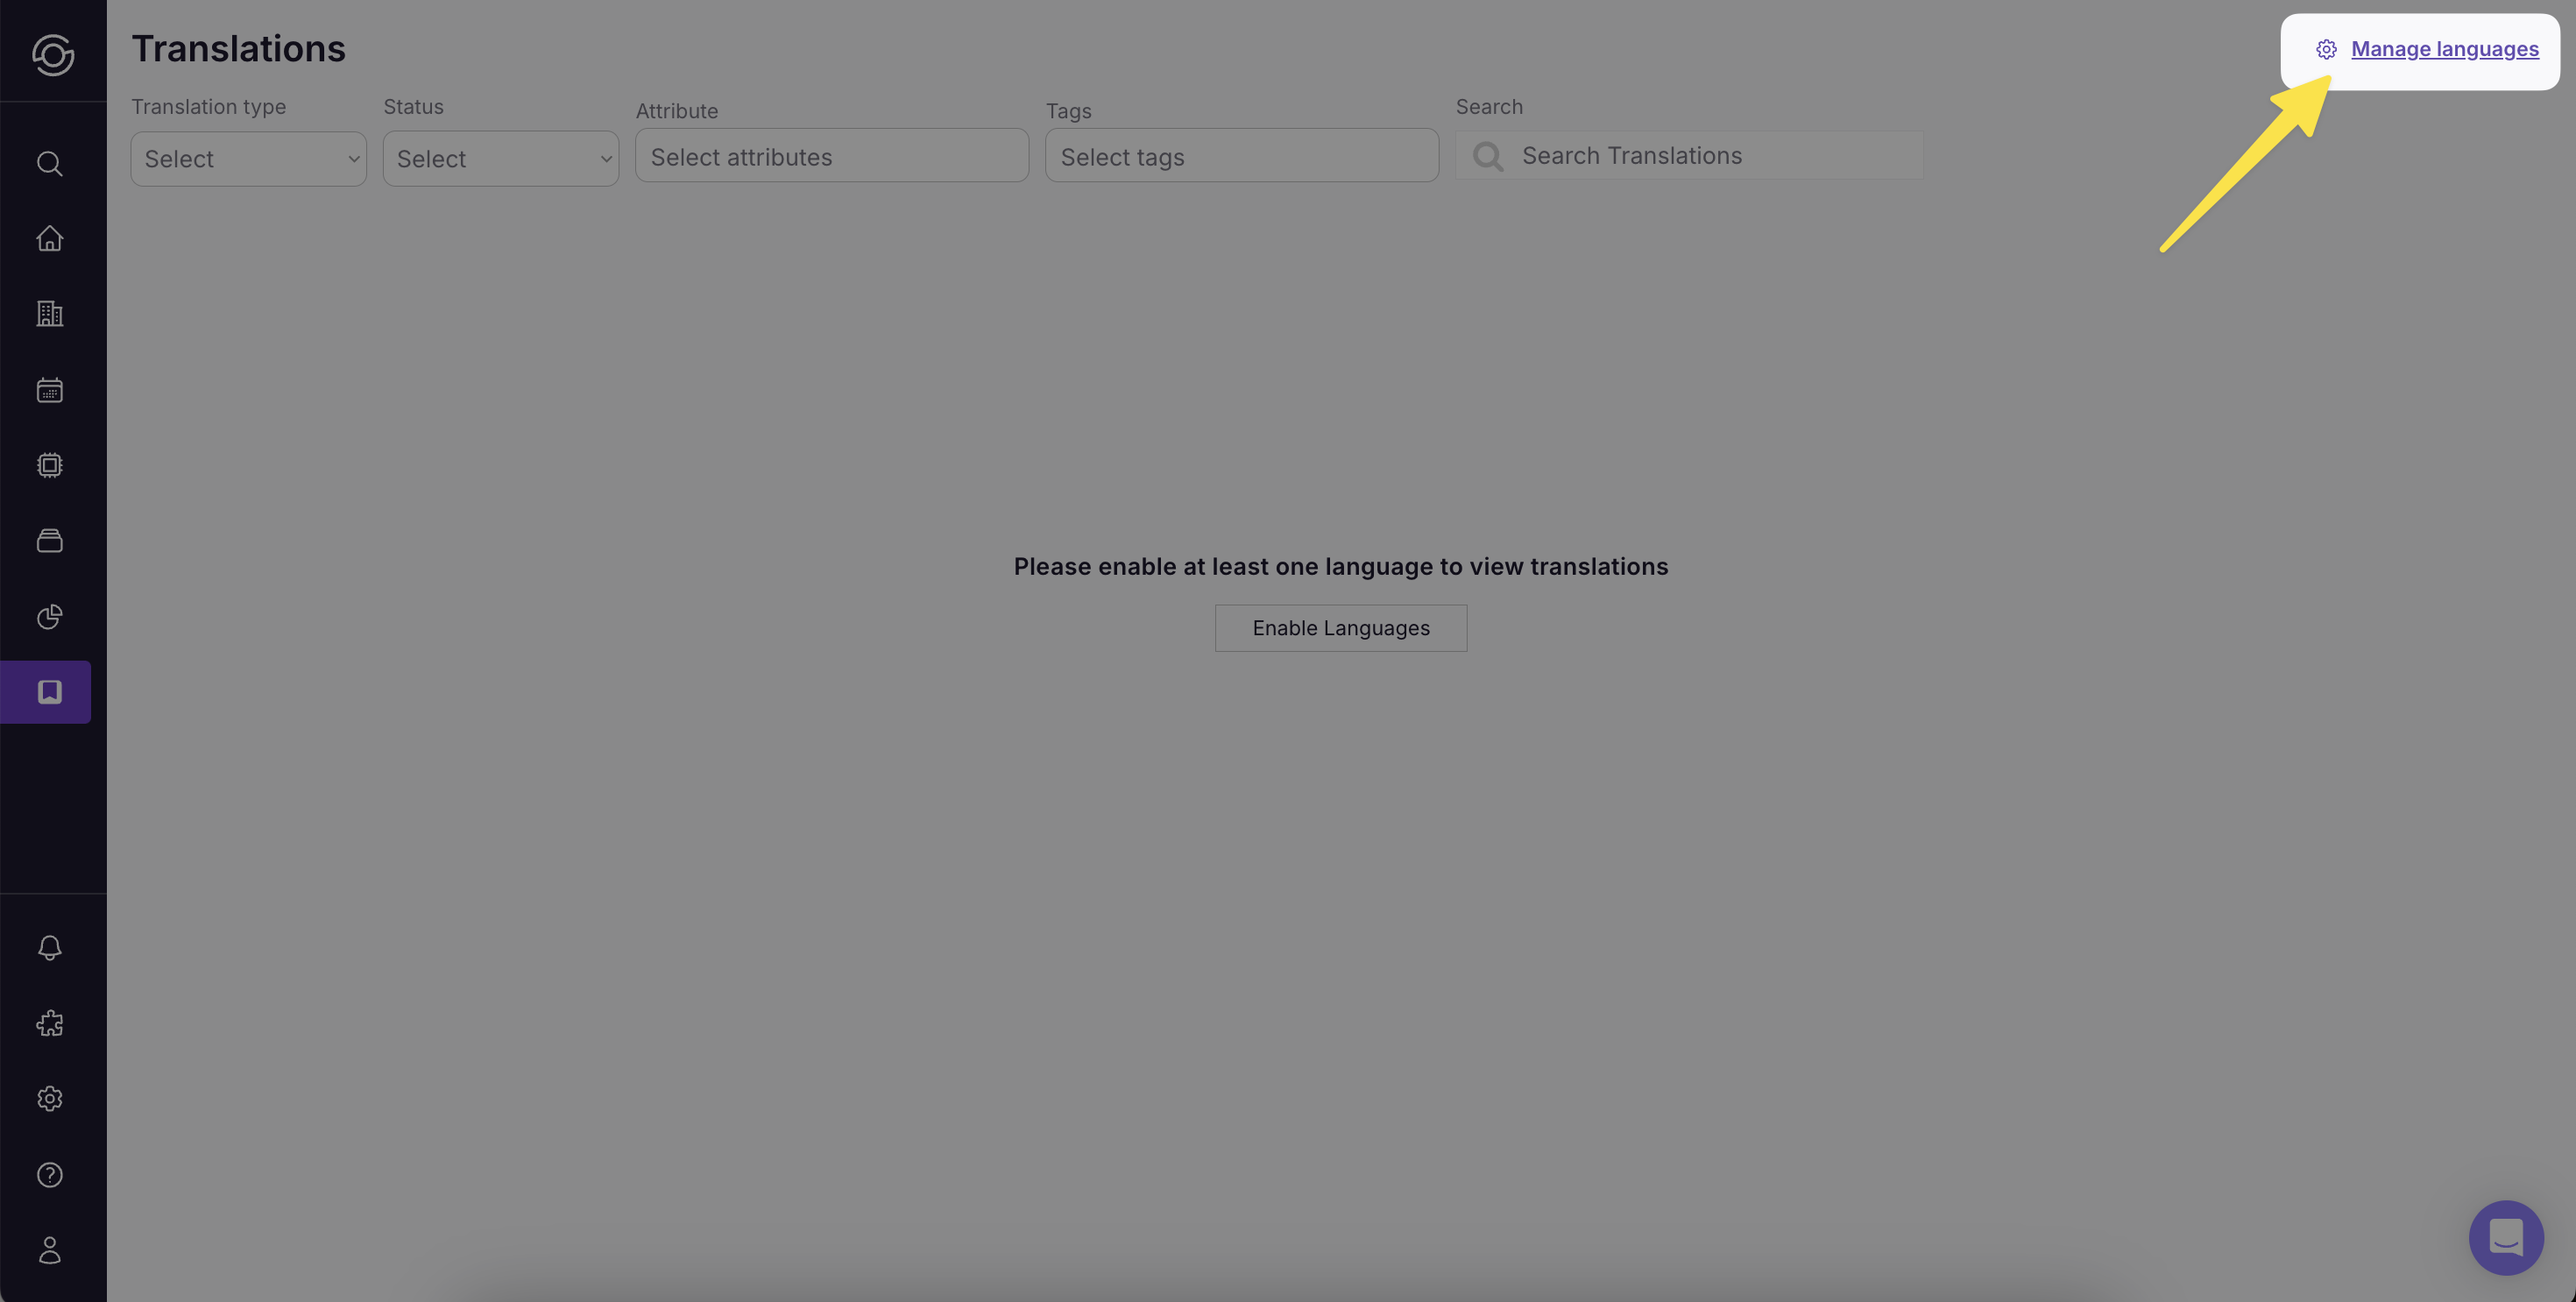
Select Manage Languages at the top right
-
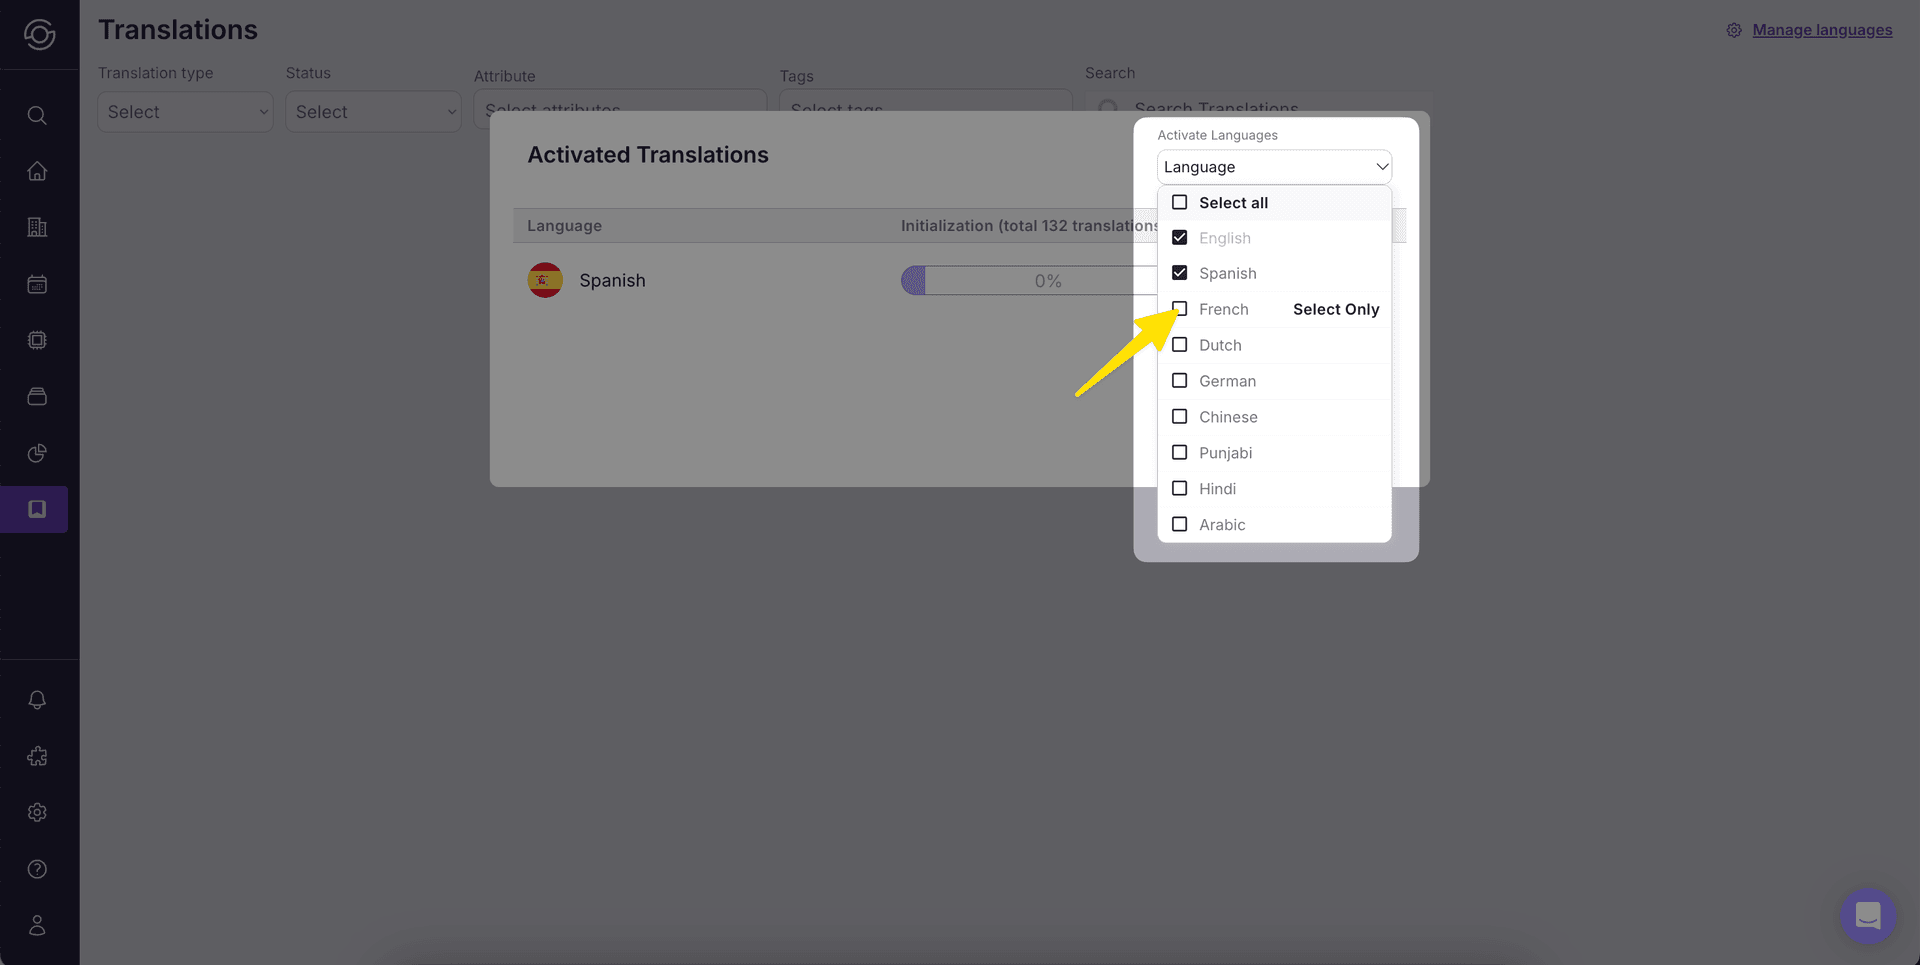
From the Language dropdown, check all languages you’d like to activate
-
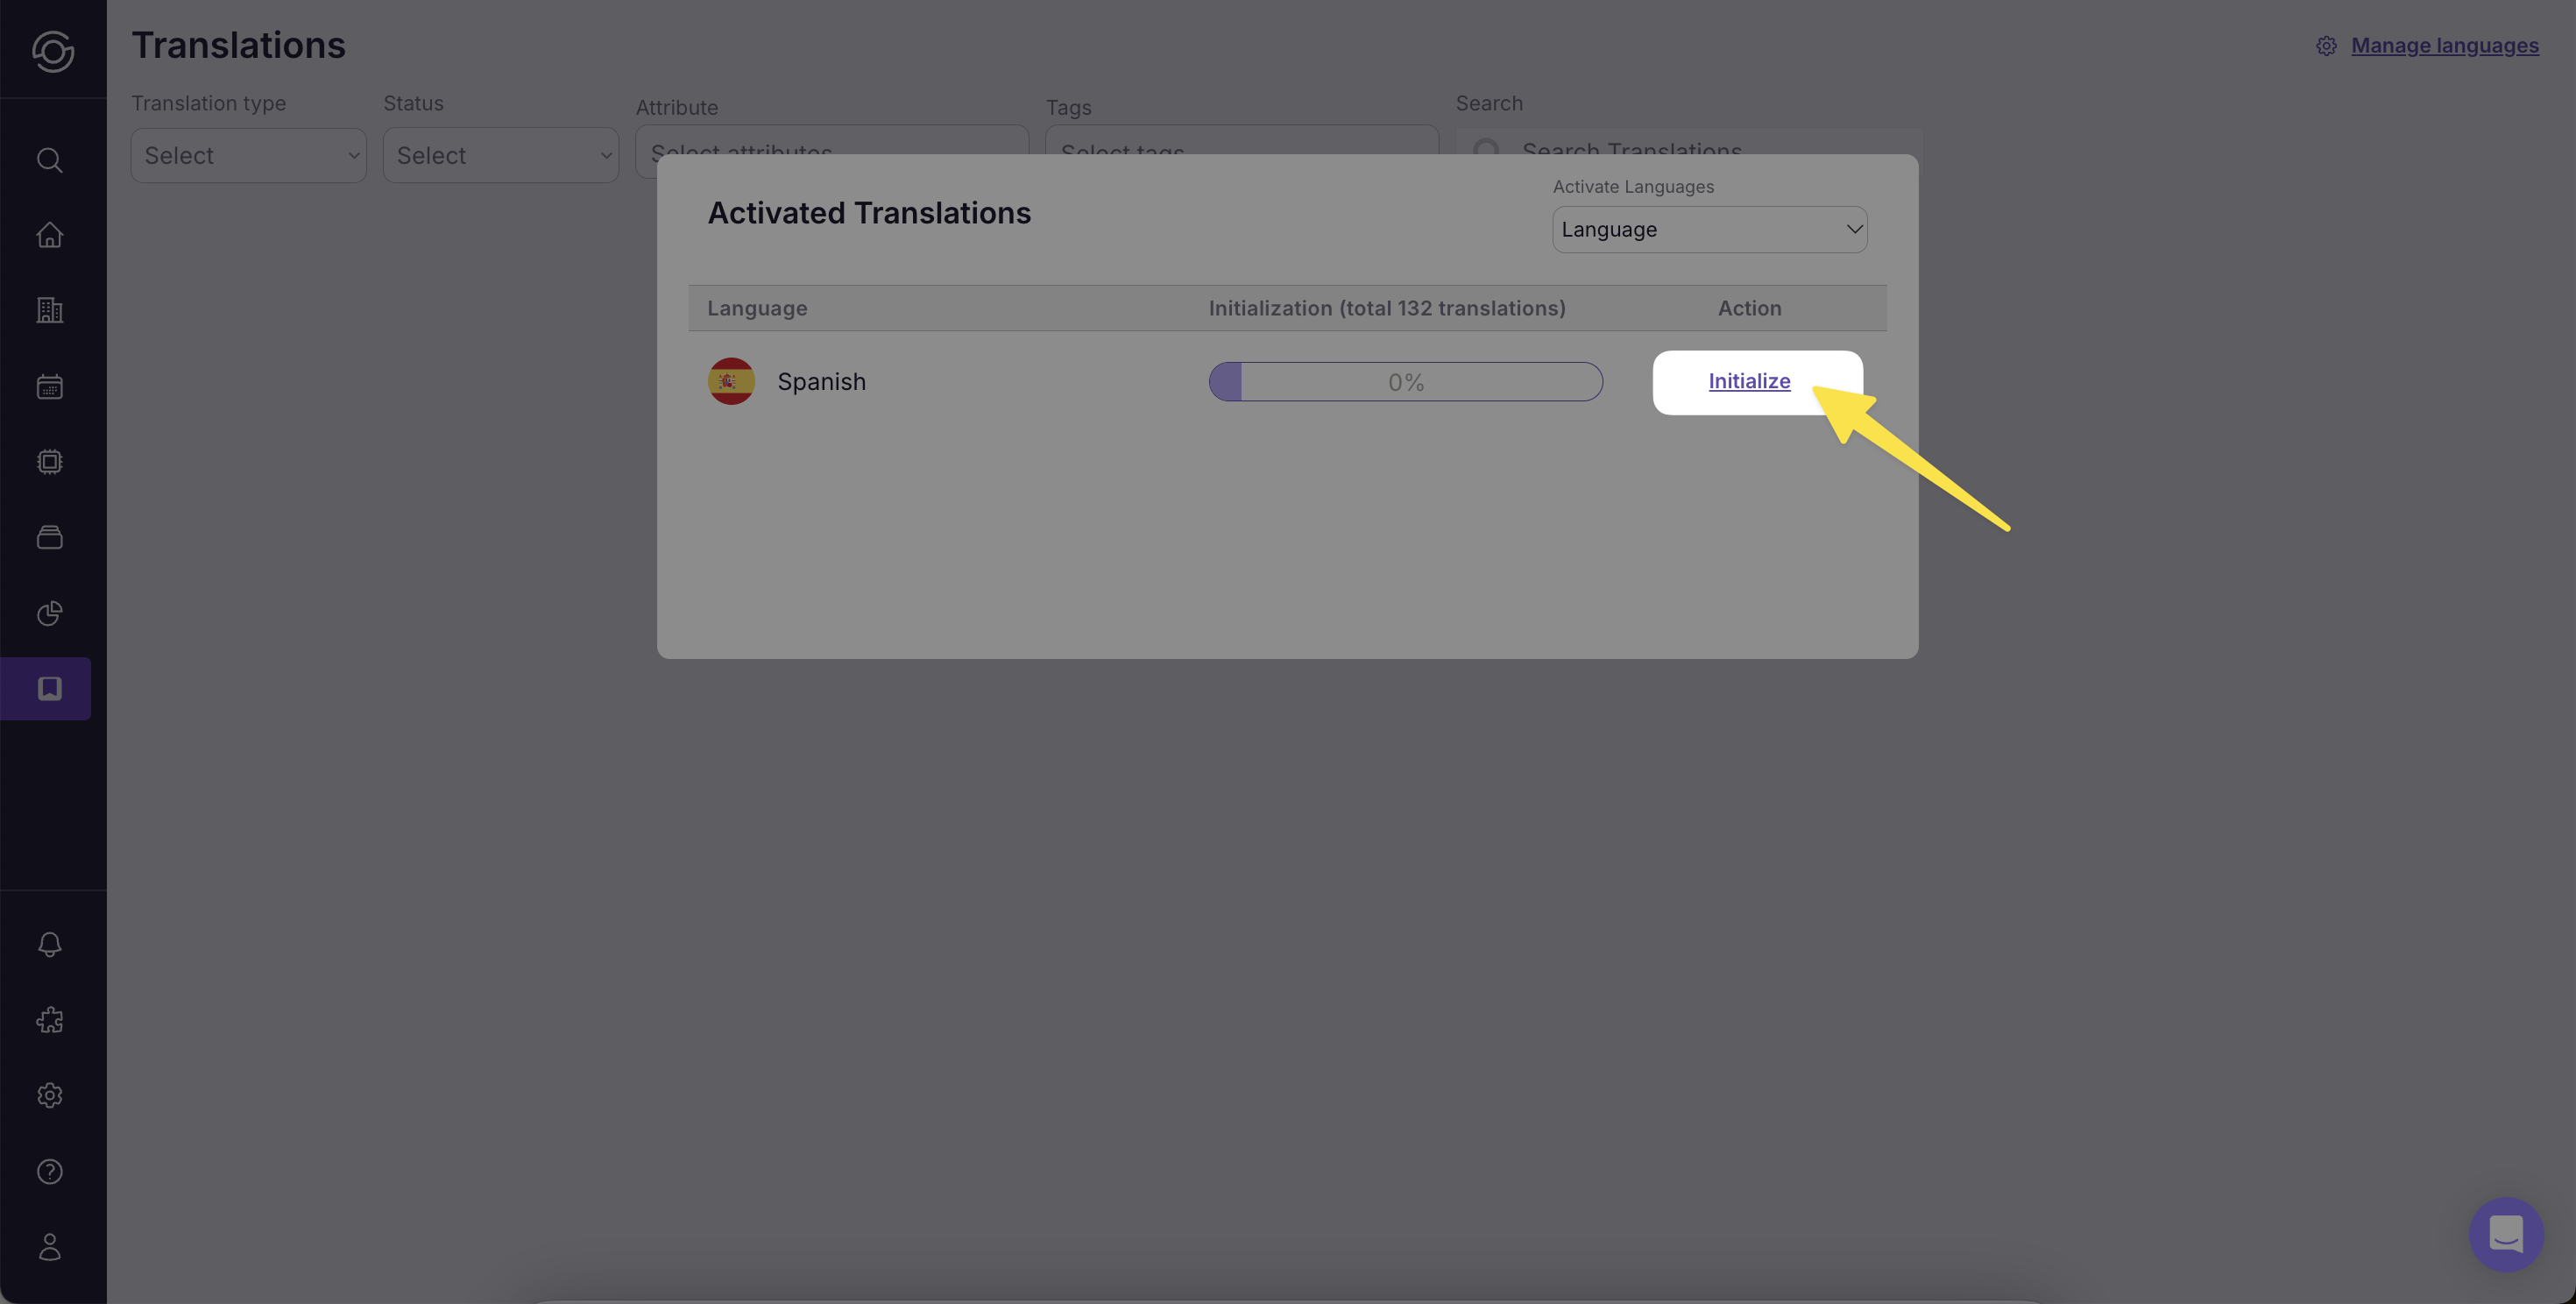
Click “Initialize” for new languages
-
Assign languages to your Portal
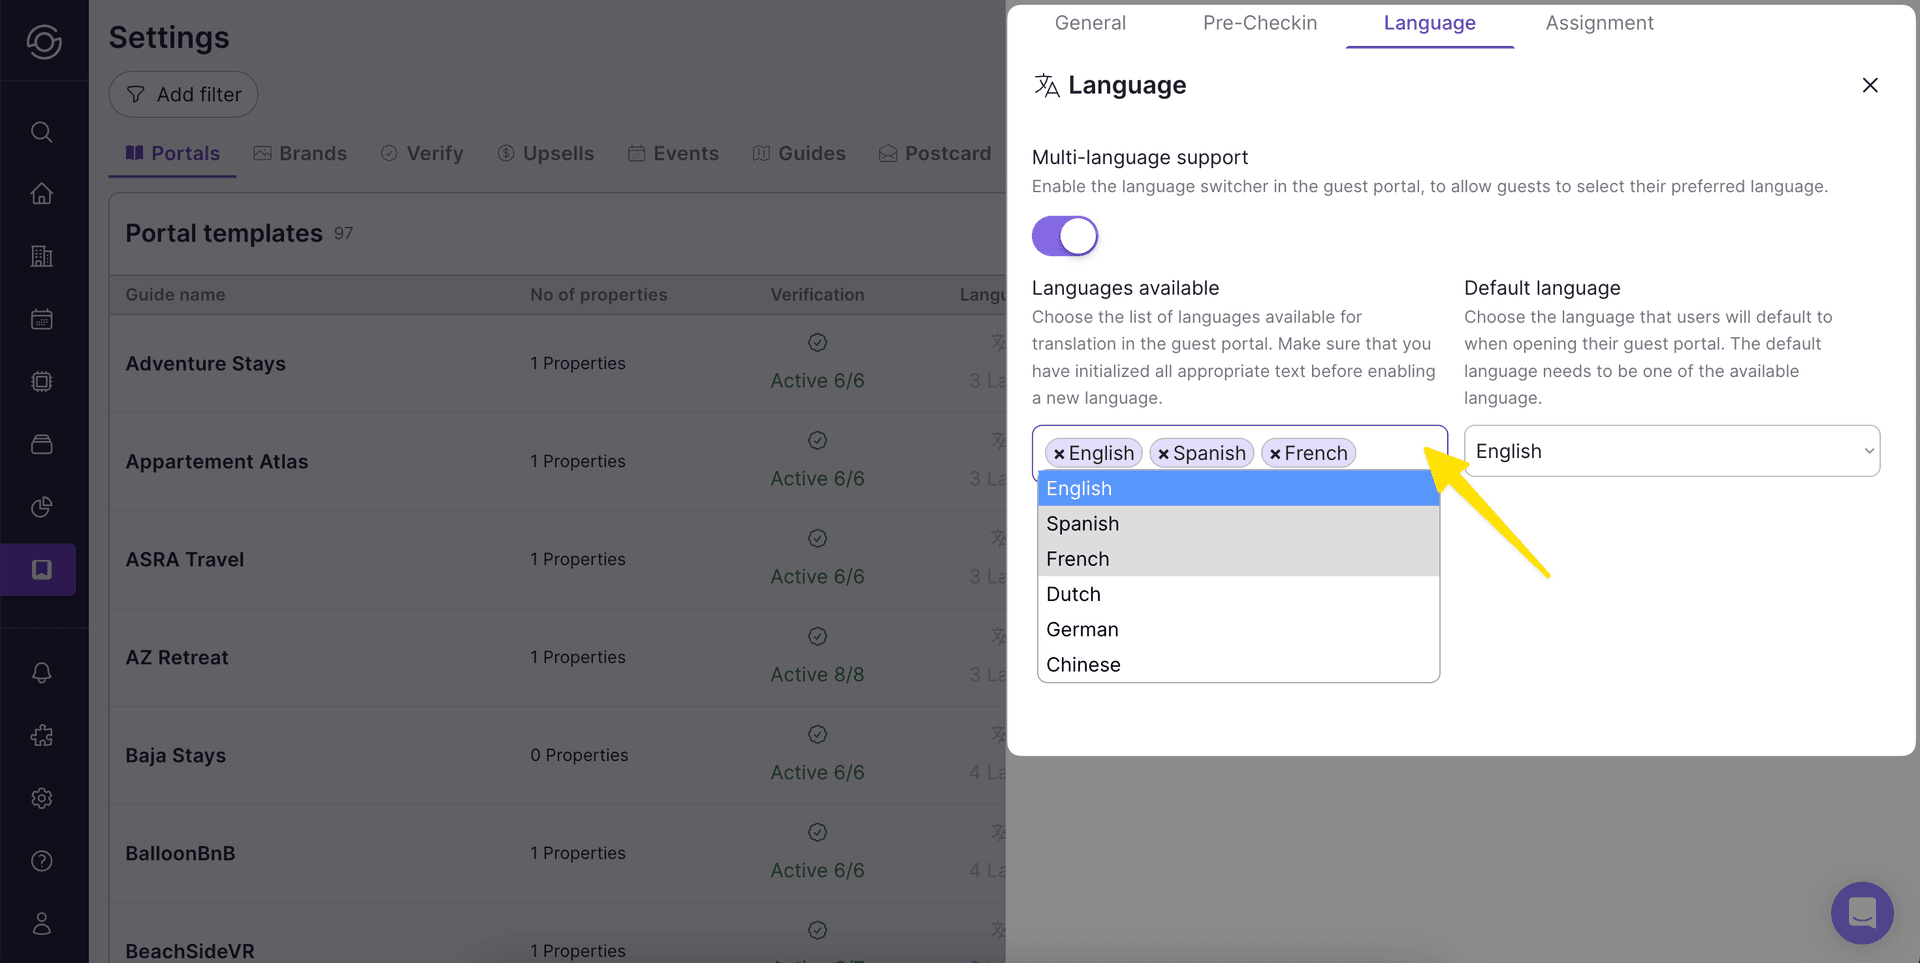
Now that your languages are activated, you can assign them to your Portal. In the Portal template settings head to the Language tab. Click into the Languages available box to select additional languages. Ensure Multi-language support is switched on.
When saving any text in your Portal configuration press Save & Translate to enable translation for each element.