Upsell Request Process
Once you have upsells set up for your guests to request, you will need to understand how to approve or decline these requests. The process uses the Charge Detail Sheet — a unified view of the charge, payment status, and available actions.
How Upsell Requests Work
Section titled “How Upsell Requests Work”1. Guest requests an upsell in the portal
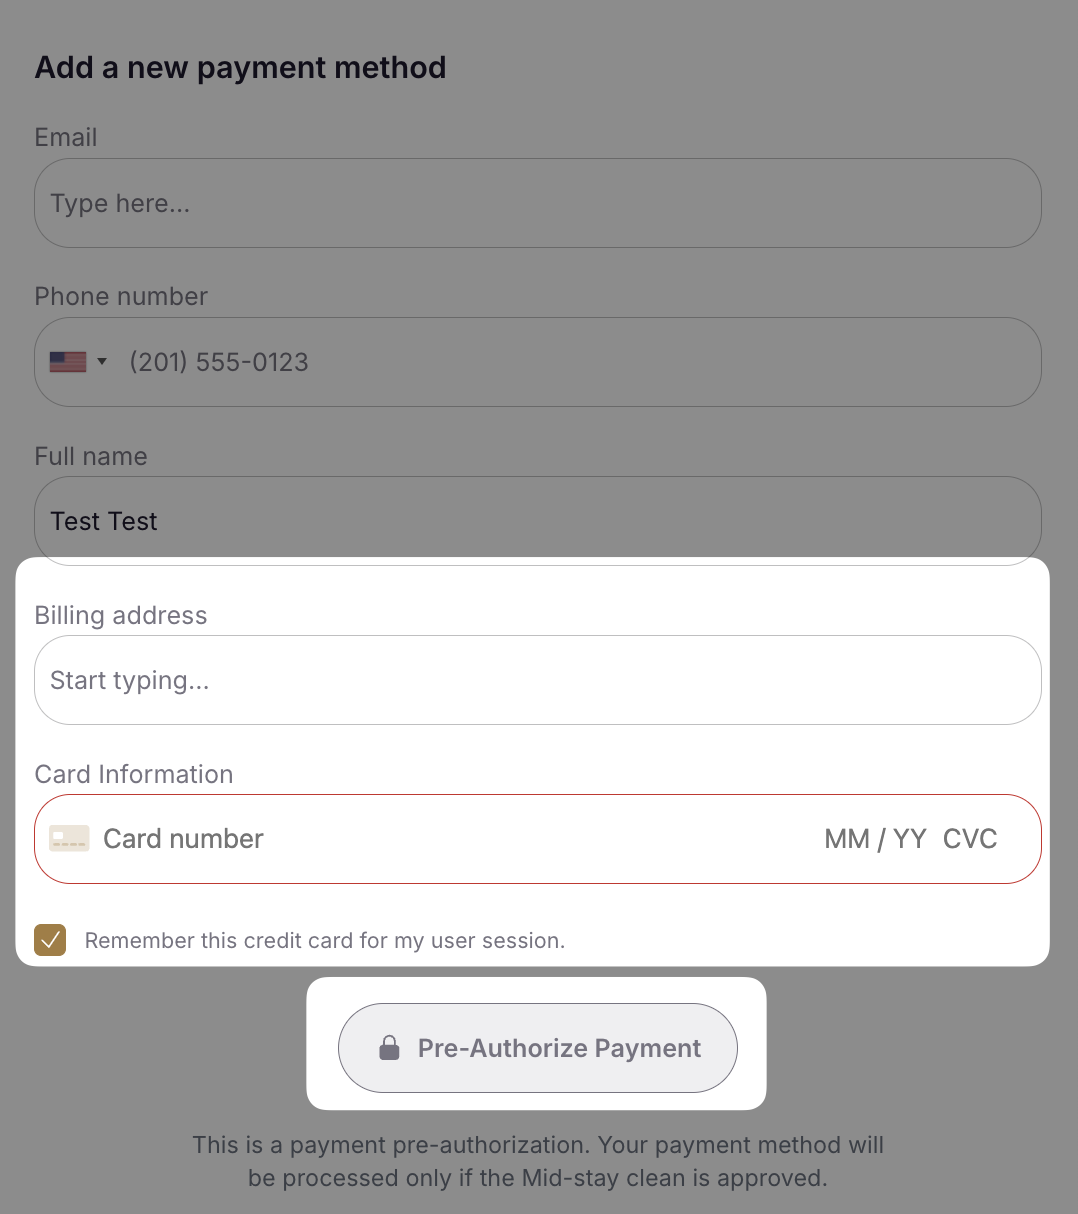
Section titled “1. Guest requests an upsell in the portal”When requesting a paid upsell, the guest enters their card information and the payment provider places an authorization hold on their card. This reserves the funds without charging them, so you can approve or deny the request without incurring unnecessary fees.
2. You receive a notification
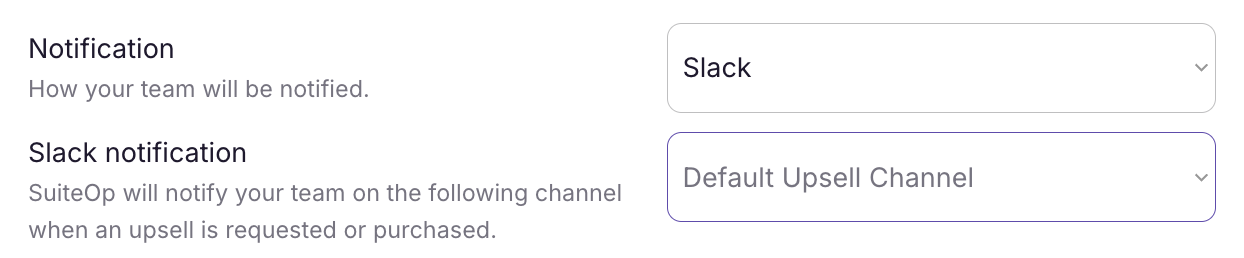
Section titled “2. You receive a notification”Notifications are configured on each upsell under Settings > Portals > Upsells. You can choose to receive notifications by email, SMS, or Slack. The message includes a link directly to the upsell request.
3. Open the charge to review details
Section titled “3. Open the charge to review details”You have two ways in:
- Open the Folio page from the sidebar, filter by Action required, and click the row. This is the fastest way to clear several requests at once — including bulk approve/deny.
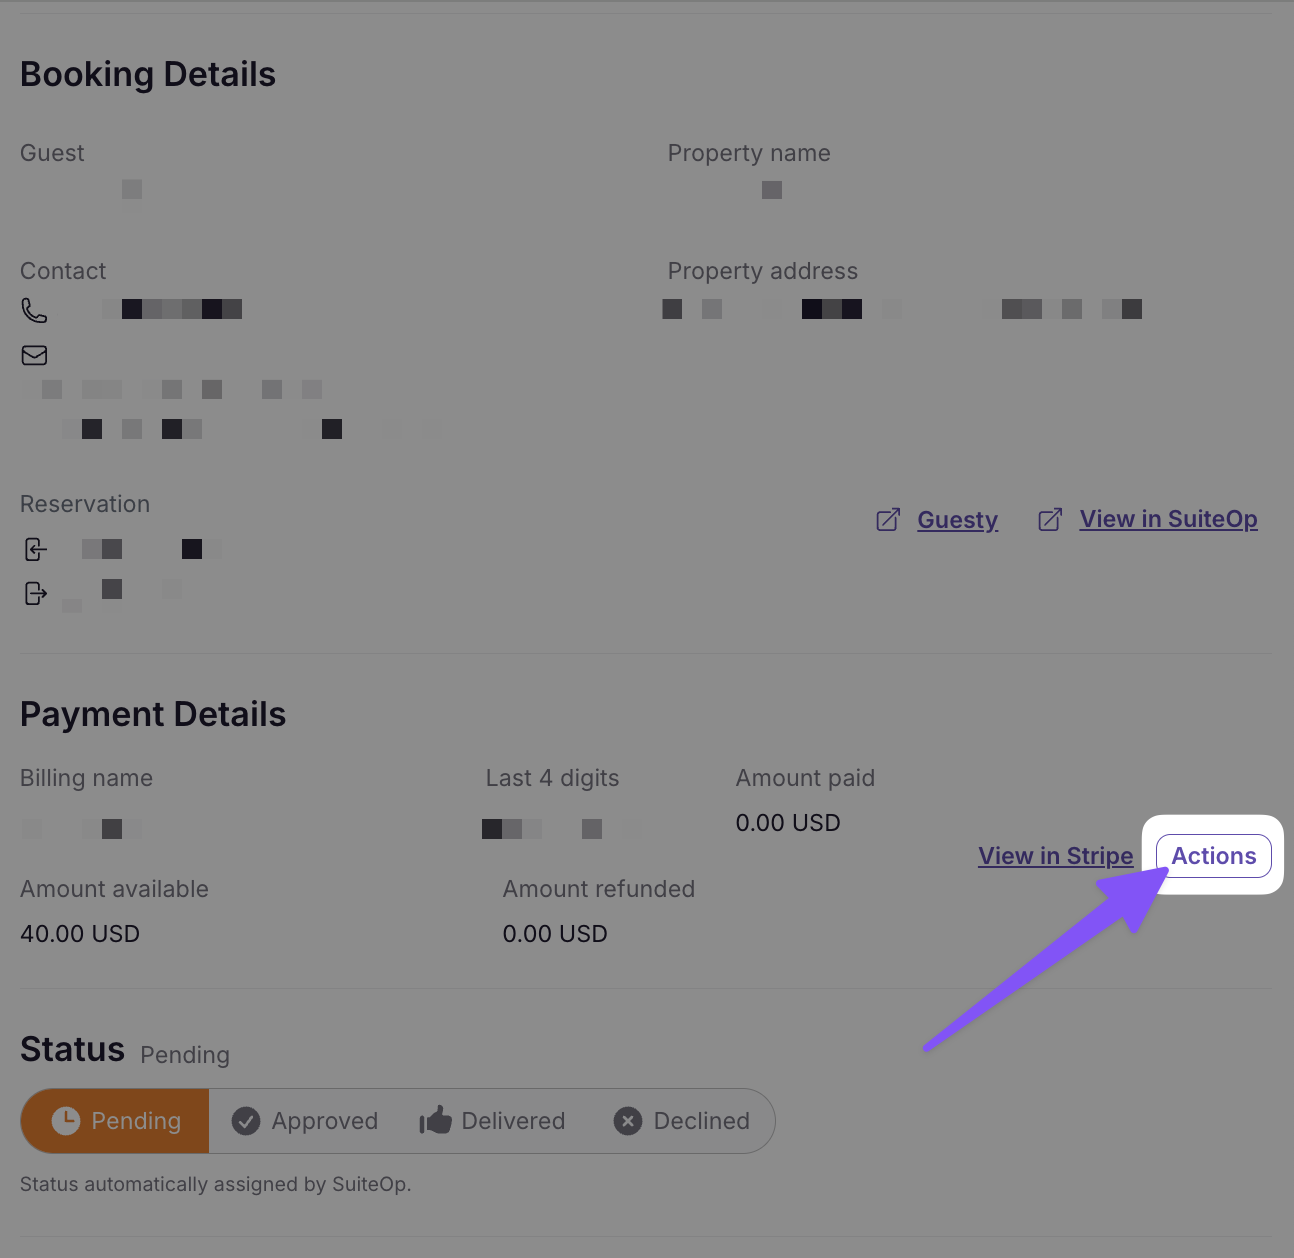
- Or navigate to the reservation and open the Charges & Payments section, then click the charge.
Either path opens the Charge Detail Sheet, where you can see the payment details, card information, and amount authorized.
To Approve a Request
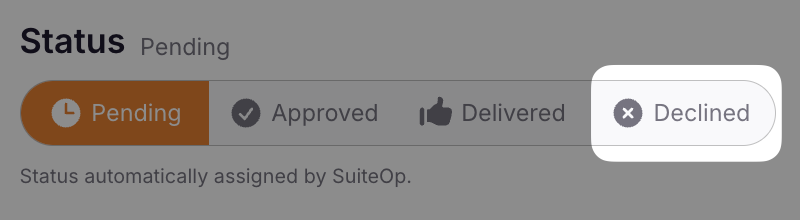
Section titled “To Approve a Request”1. Change the stage to Approved
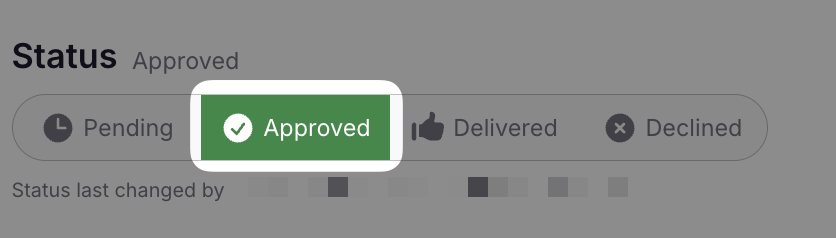
Section titled “1. Change the stage to Approved”In the Charge Detail Sheet, select Approved from the Stage dropdown. If the payment has an authorization hold, you will be prompted to capture the payment.
2. Capture the payment
Section titled “2. Capture the payment”Click Capture to charge the full authorized amount. To capture a different amount, enter a custom amount in the capture dialog.
3. Fulfill the upsell
Section titled “3. Fulfill the upsell”Take the appropriate action to deliver what the guest requested:
- For Early Check-in or Late Check-out, update the reservation’s check-in or check-out time. This automatically adjusts any lock code schedules.
- For other upsells, complete the required preparation or delivery.
4. Mark as Delivered
Section titled “4. Mark as Delivered”Change the stage to Delivered to complete the workflow.
5. (Optional) Notify the guest
Section titled “5. (Optional) Notify the guest”Guests see a notification in their portal, but you may also want to message them directly through your PMS or messaging platform.
To Deny a Request
Section titled “To Deny a Request”1. Change the stage to Denied
Section titled “1. Change the stage to Denied”In the Charge Detail Sheet, select Denied from the Stage dropdown. The authorization hold on the guest’s card is automatically released — no funds are collected.
2. Notify the guest
Section titled “2. Notify the guest”Go to your PMS or guest messaging platform and inform the guest that their request cannot be fulfilled.
Related Articles
Section titled “Related Articles”- Folio — Cross-reservation list with bulk approve/deny
- Managing Charges & Payments — Full guide to capturing, refunding, and releasing payments
- Creating Upsells — Set up upsells and choose a payment provider
- Managing Guest Fees — Add and manage one-off service fees