Steps to Take When Adding a New Property
When you add a new property to your Property Management System (PMS), there are a few essential steps to ensure it’s fully integrated and operational within SuiteOp.
Getting Started
Section titled “Getting Started”Complete each of the following steps to ensure your property is properly connected, configured, and ready to operate:
- Add Property
- Link Devices
- Add Details
- Portal & Assignment
- Review Details
- Provision New Smartlocks (If applicable)
Step 1: Add Property
Section titled “Step 1: Add Property”-
Go to the Integrations page > select your PMS
-
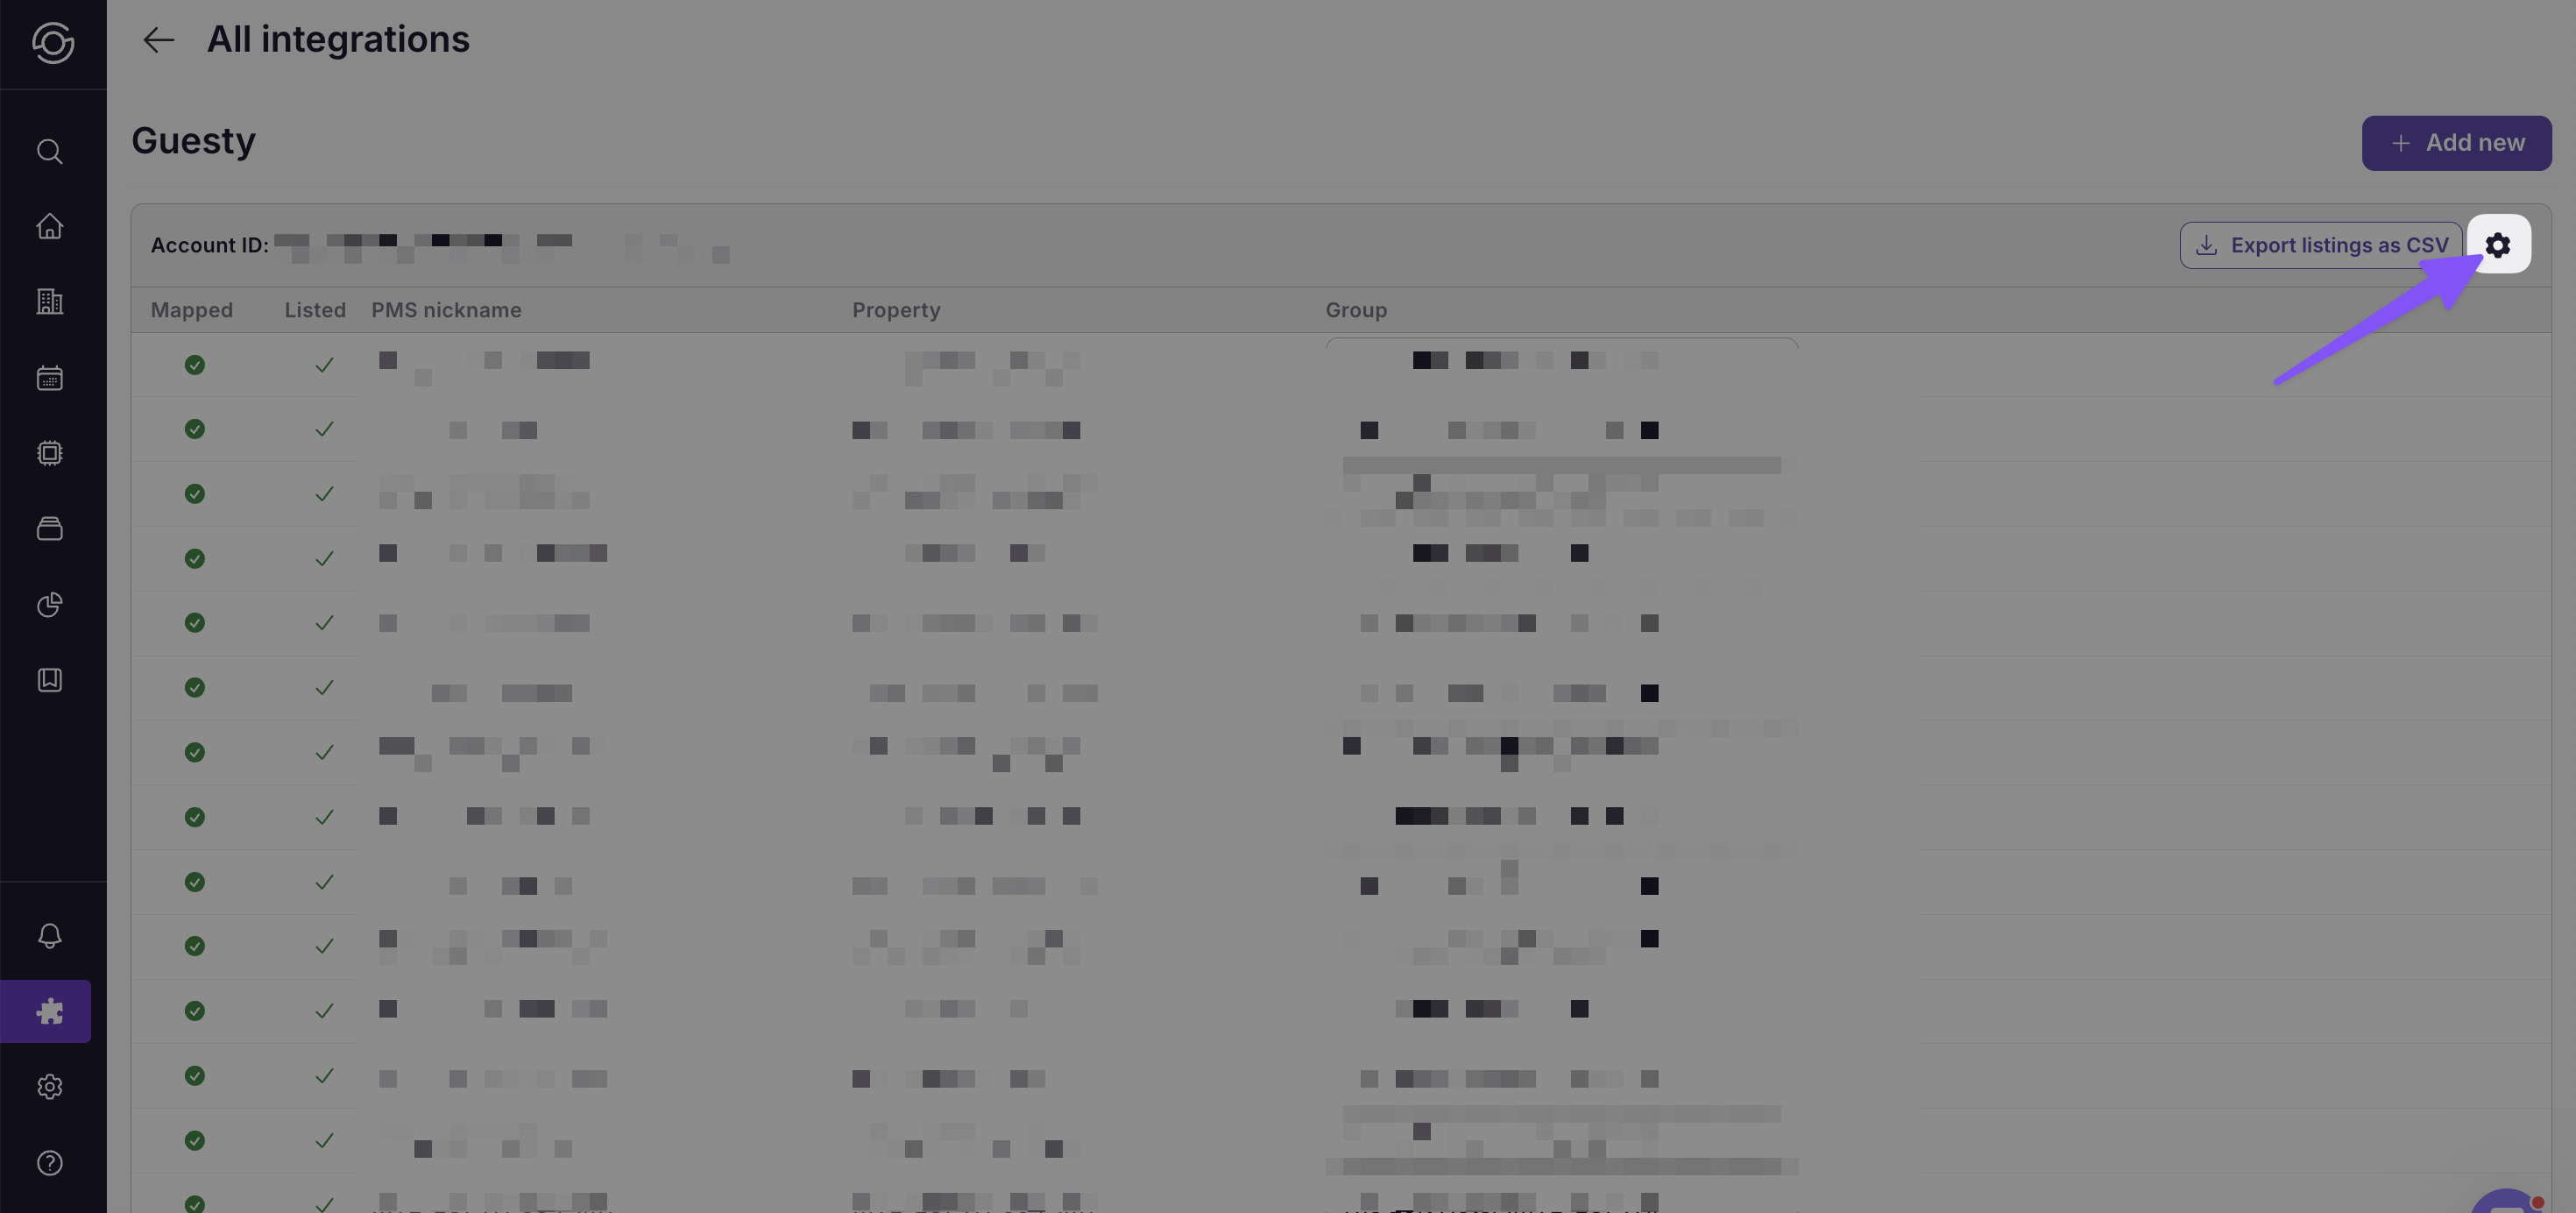
Look down the list to find your new property, skip to step 4 if it is there. If the property is not showing yet, select the gear icon of your account
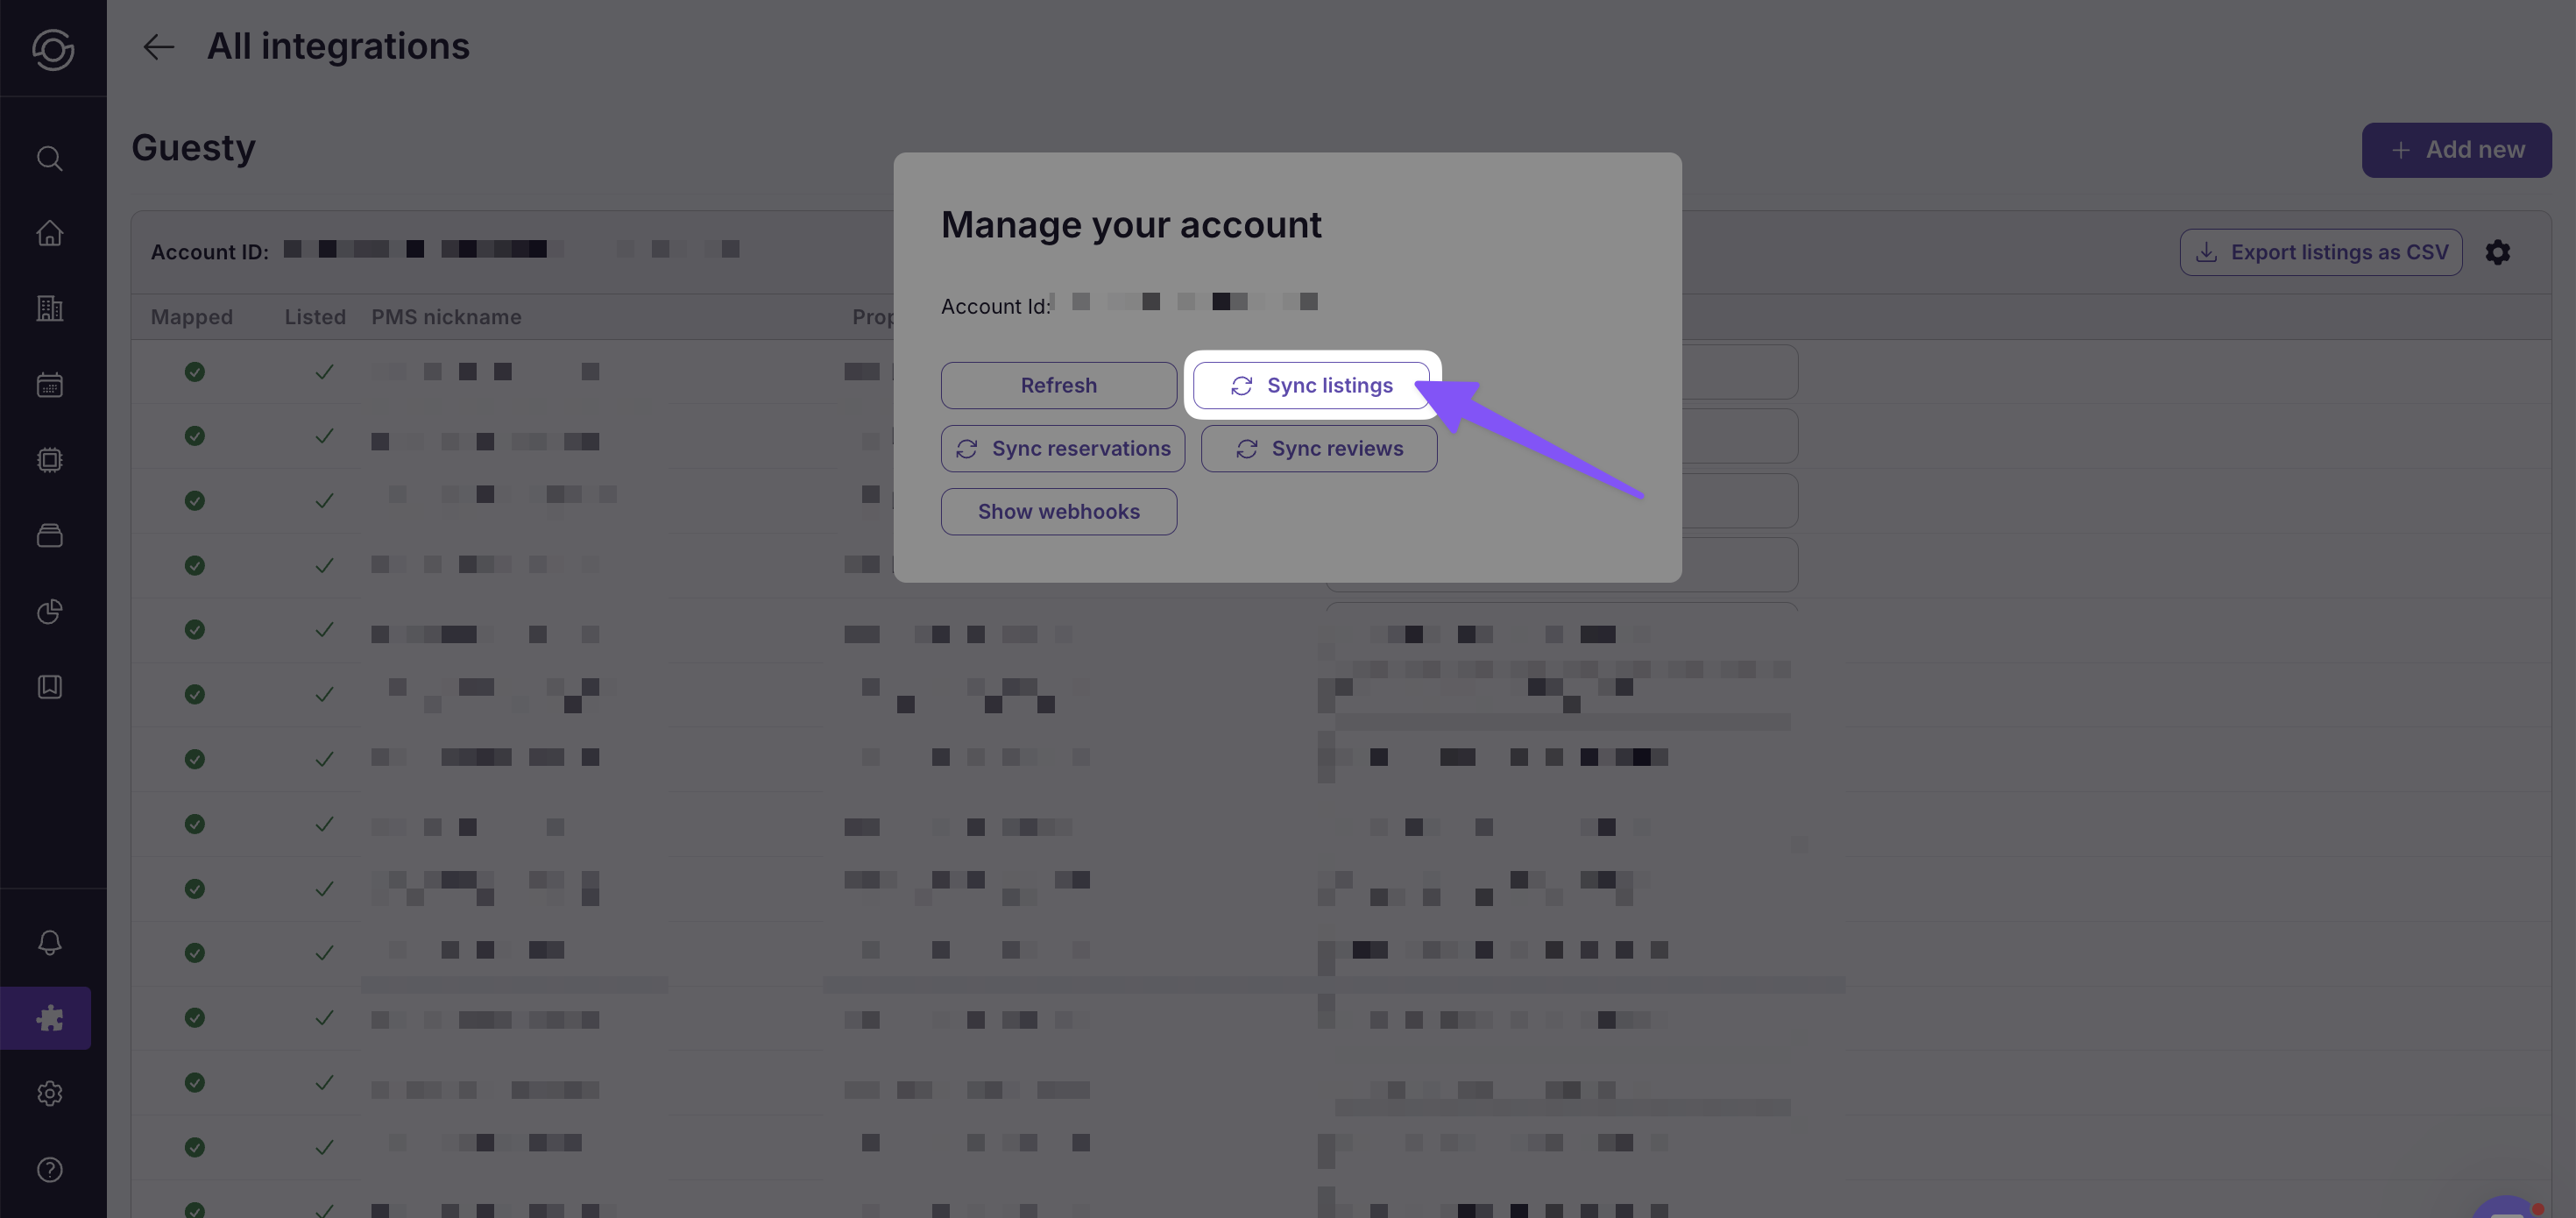
- Click Sync listings
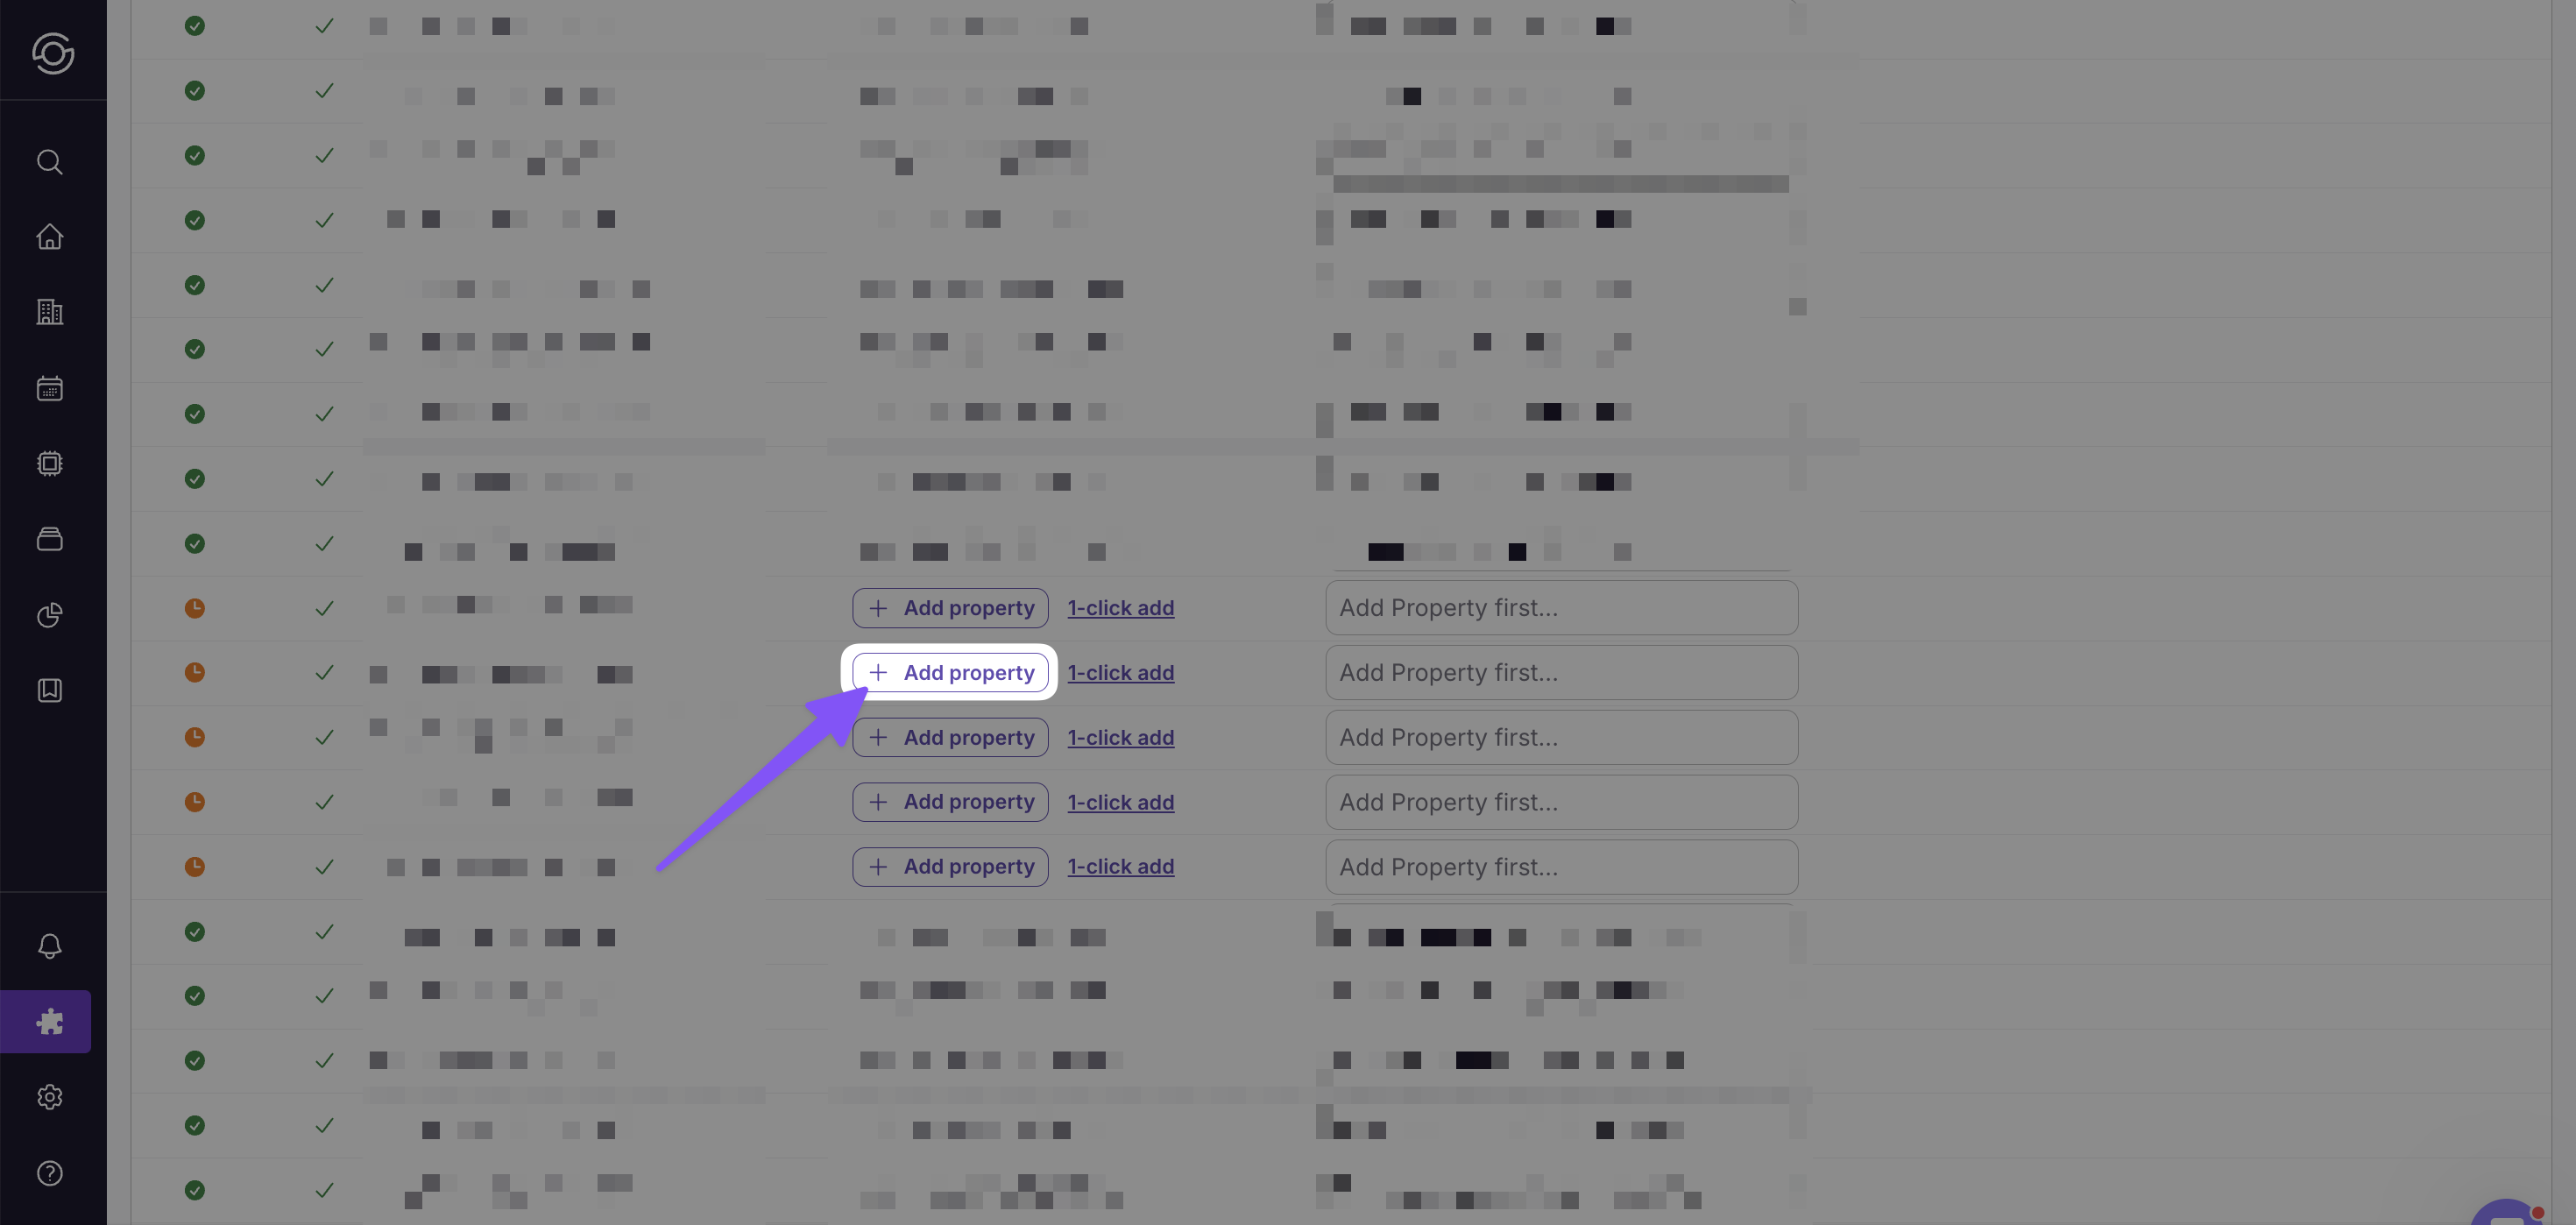
- Scroll to the new property in the list of listings, select +Add property
-
Add to a group
-
Review information
-
Save
Step 2: Link Devices
Section titled “Step 2: Link Devices”-
Import new property devices in the Integrations page
-
Assign devices to the new property
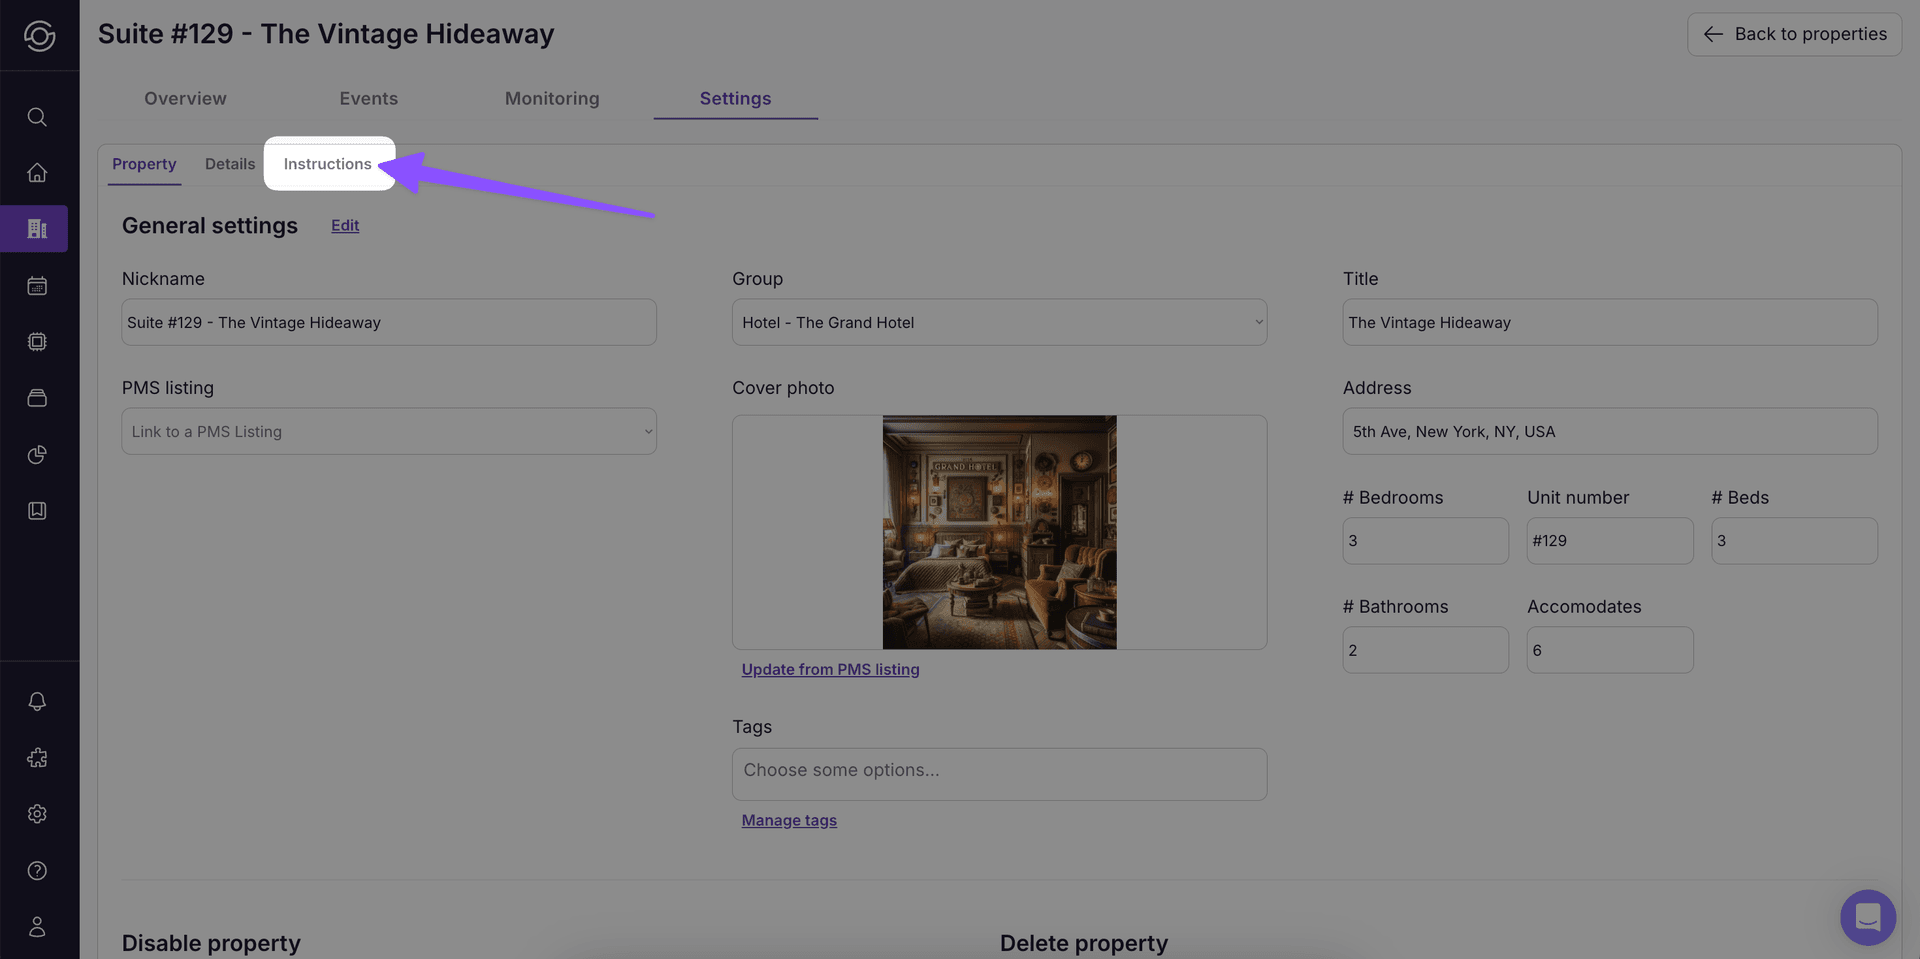
Step 3: Add Details
Section titled “Step 3: Add Details”After adding the property, head to the Properties page and go to the new property to adjust the details. Add the following:
-
Code type
-
Check-in summary
-
Check-in steps
-
Check-out steps
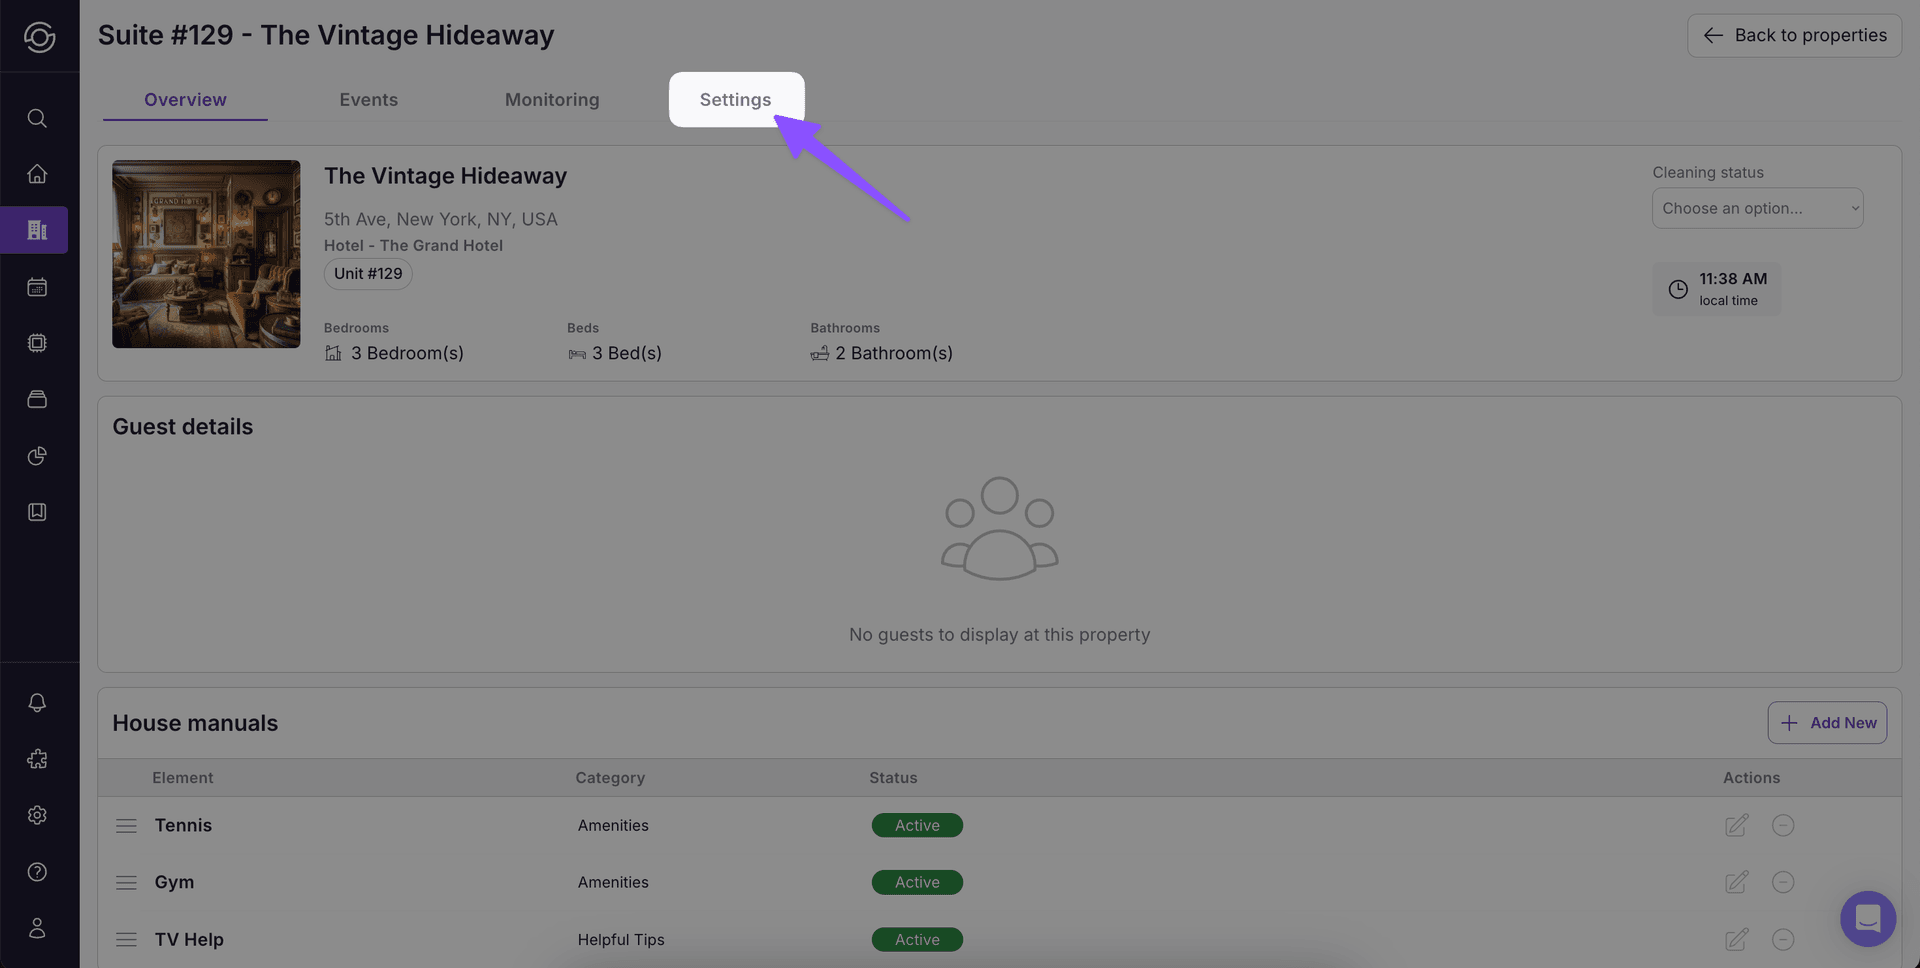
These will be found under Settings > Instructions
Step 4: Portal & Assignment
Section titled “Step 4: Portal & Assignment”-
If you have a portal & brand that works for this property already, assign the portal to the new property under property Settings > Assignment**, otherwise you’ll need to create a new Portal using the steps here**
-
Link relevant House Manuals, create new where needed. These should all have a photo.
-
Assign relevant Upsells, create new where needed
-
Assign in relevant Workflows
Step 5: Review Details
Section titled “Step 5: Review Details”Double check the following:
-
Property photo
-
Property name
-
Property address
-
Wifi details
-
House rules
-
Devices
-
Portal is assigned
-
Upsells are assigned
-
Manuals are assigned
Step 6: Provision New Smartlocks (If applicable)
Section titled “Step 6: Provision New Smartlocks (If applicable)”-
If using smartlocks, ensure code type is set to “Dynamic” in Check-in details
-
Check that your lock is assigned to the property
-
Add any Users to SuiteOp who need access to the new lock. Assign them access to the correct property group.
-
Make sure no other platform is managing the lock or pushing codes. If another provider is sending codes to the lock, SuiteOp will have trouble functioning.
-
Click the Provision button in the device settings. Make sure the box to copy existing reservation codes is checked. The lock may not work for 10-15 minutes while provisioning.
-
You will see 3 Backup codes created in the list, the status bubbles beside each should turn green. Gradually user codes and reservation codes will appear and turn orange and green. This is successful!
-
If Provisioning does not appear to work, do not keep pushing the button, this will delay the lock’s response. Feel free to reach out to the SuiteOp team for help!